Administration: Caller IDs
If you are an admin user, manage all aspects of Caller IDs from one simple overview, and order phone numbers directly from Outbound.
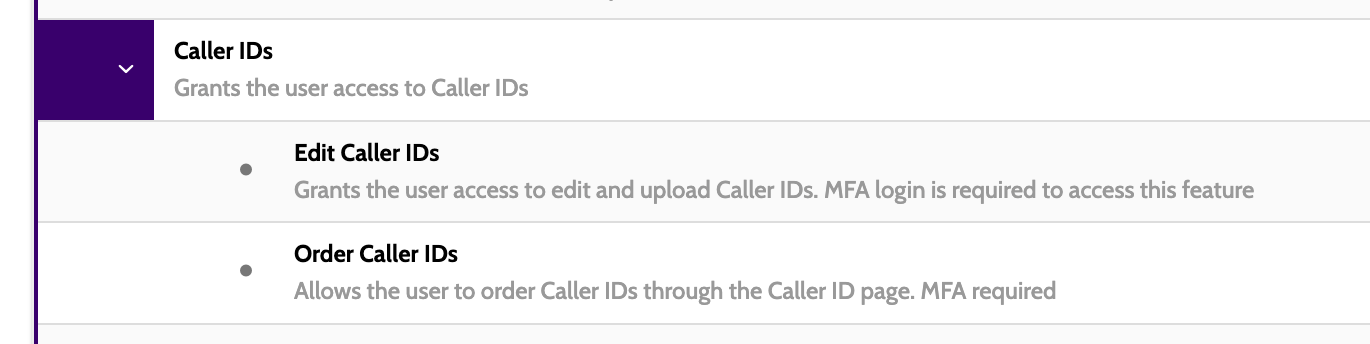
In order to upload phone numbers, you need to have MFA enabled. This can be done in Manage Organisation.
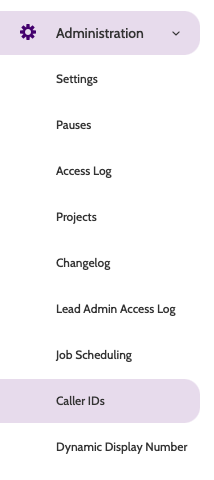
Caller IDs can be found under Administration menu.
In the navigation page you will see a list of all your active phone numbers, and
- The Campaign they are used in
- A description of the number, as entered in Incoming Configuration
- The Project they belong to
- Whether the number is active or inactive
- The contact attempts, or percentage of all connected calls made by the number that were not registered as going to voicemail
- If the number is leased (obtained from Outbound) or private (your own)
- And the expiration date on a leased number, if applicable.

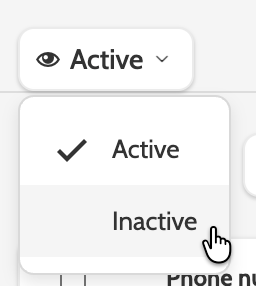
Expand the Active menu to filter by Active or Inactive phone numbers.
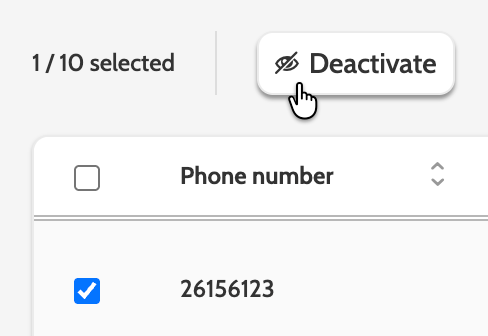
Numbers can be deactivated individually or in bulk by checking and clicking Deactivate.
Please note! Deactivating a Caller ID only disables it.
If you have ordered the Caller ID from Enreach Outbound, you will need to contact support to cancel the subscription.
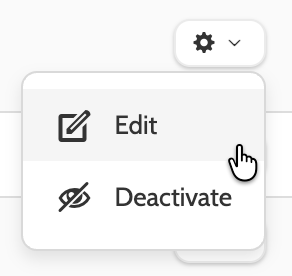
Click the cog to the right of the phone number to Edit or Deactivate.
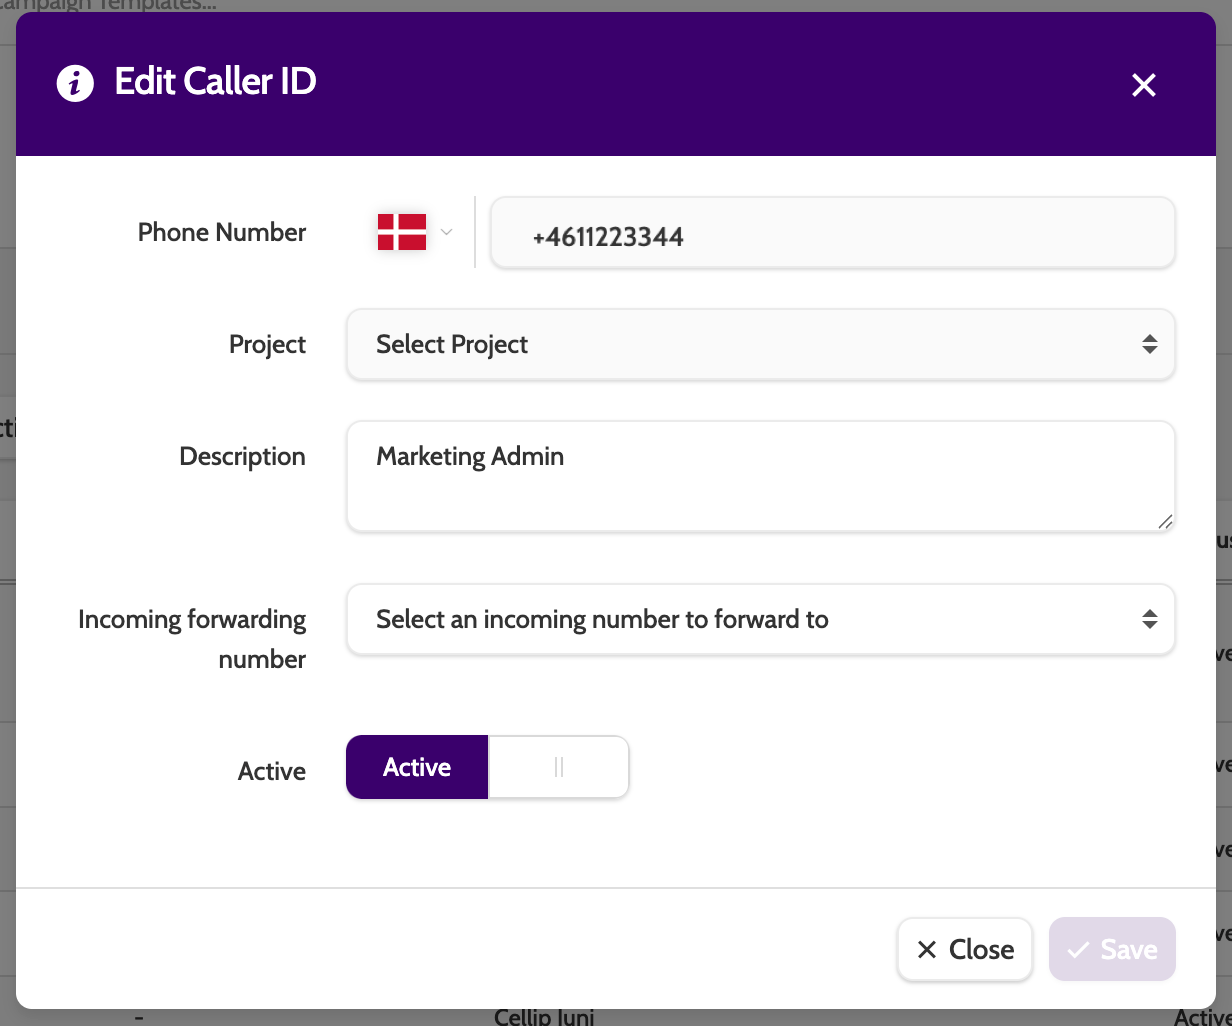
When editing a Caller ID, the only editable fields are Description, reselecting the Incoming forwarding number, and the Active status.
Adding new Caller IDs
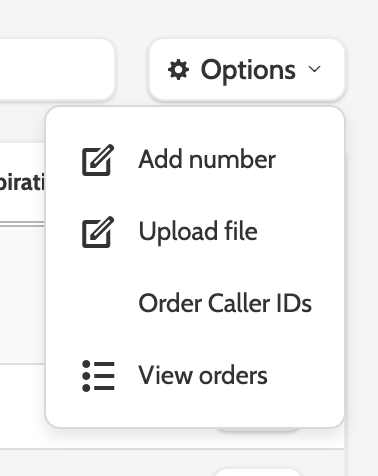
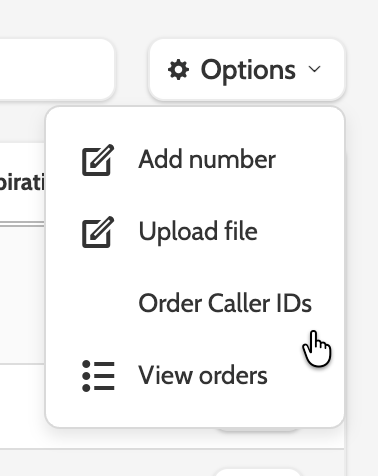
Expand the Options menu and click Add number, or Upload file to upload a CSV file with numbers.
Under Add new phone number, enter the details of your new number:
- Phone number: the phone number and country code
- Project: select which project the phone number will belong to. A phone number can only belong to one project
- Description: enter an optional description to easily identify the number
- Incoming forwarding number: if selected, then calls made to this number will be forwarded to the chosen incoming number
- Active: set the status of the number.
Before you add a new phone number, you need to check the box next to the declaration.
You won't be able to save the number if you don't check the box!
Click Save to save the phone number.

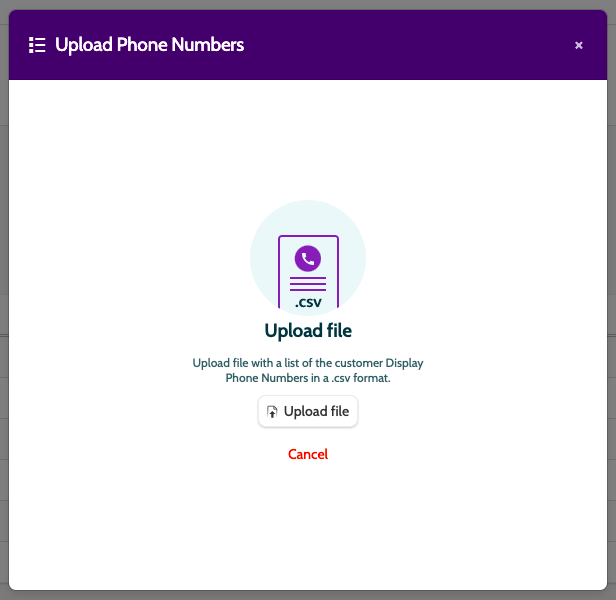
To upload several phone numbers at once, you can upload a CSV file containing all the data.
Click Upload file, and select the CSV file from your desktop.
Click Cancel to exit without saving.
Ordering new Caller IDs
Expand the Options menu and select Order Callers IDs
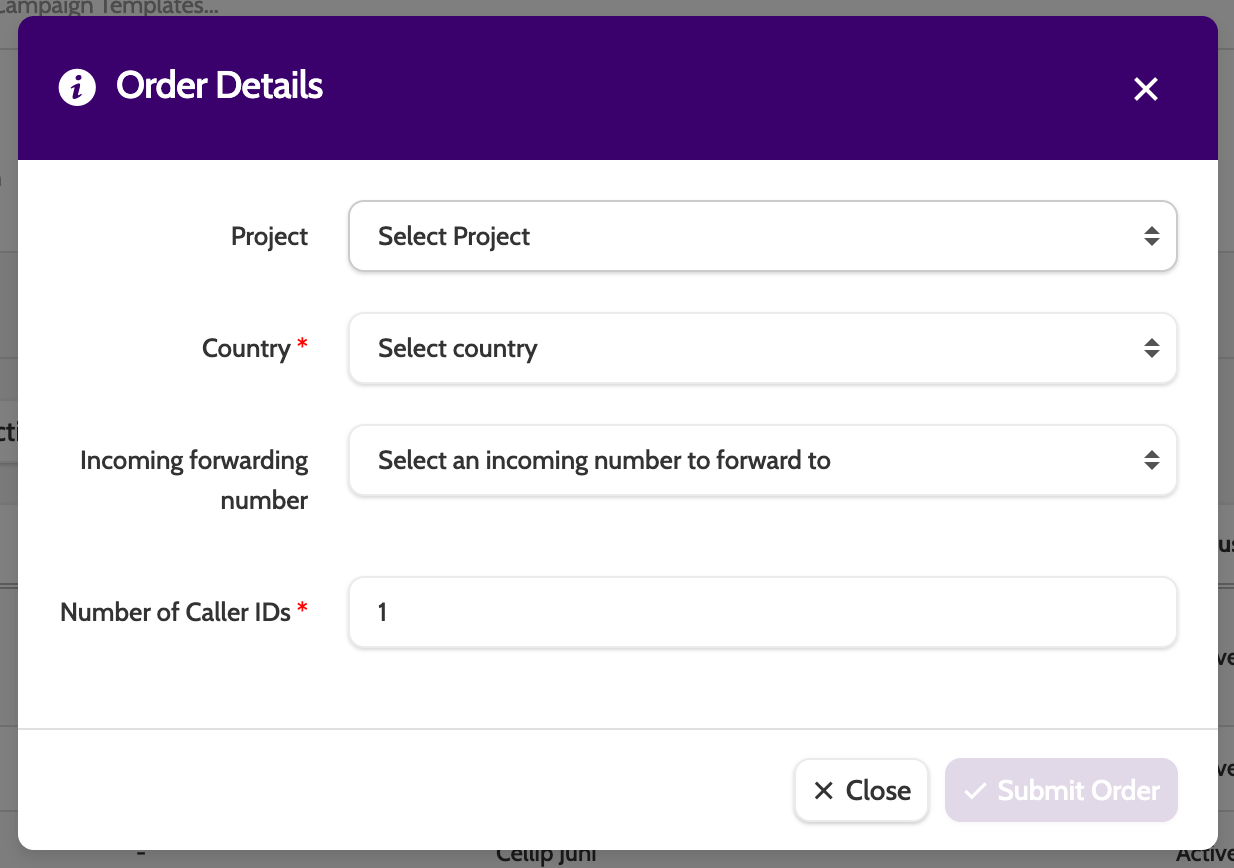
Enter the following information :
- Project: when selected, the Caller ID can only be used in Campaigns that belong to the Project. Not mandatory
- Country: select the country you will be calling from
- Incoming forwarding number: if selected, then calls made to this number will be forwarded to the chosen incoming number. Not mandatory
- Number of Caller IDs: how many you need - there is a limit of 20 active orders at one time. If you need to order more, please contact your account manager, or Enreach Outbound support.
Click Submit Order when done.
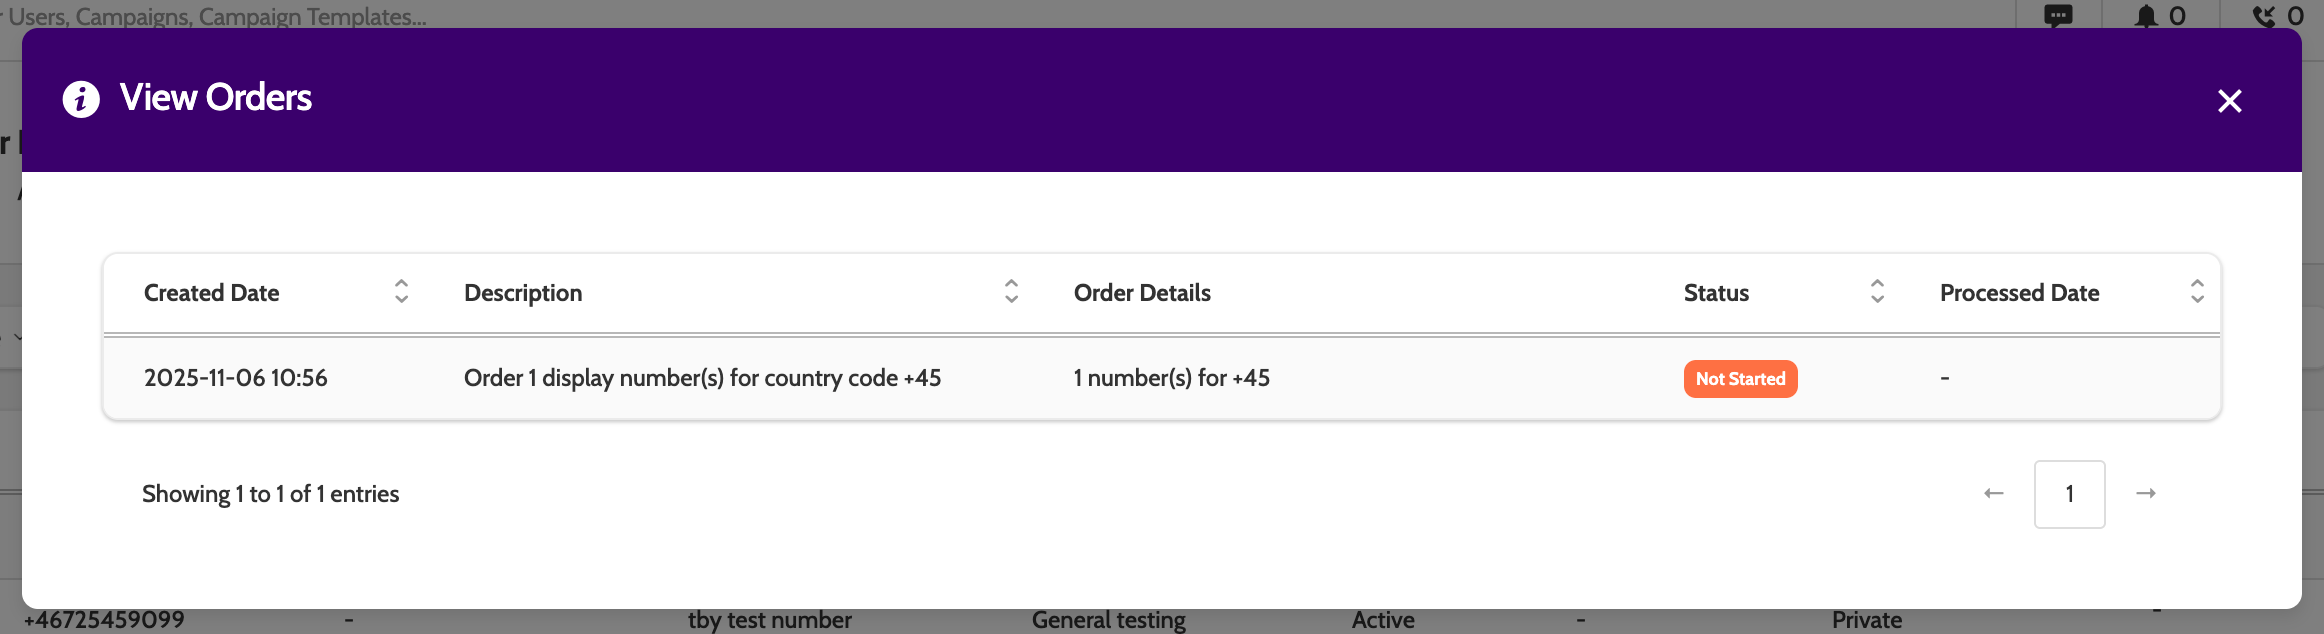
When an order has been placed, select View Orders from the Options menu to check on the order status.
When a Caller ID has been delivered, you will see an alert in the notification center:
Delivered numbers can be found in the Caller IDs overview, ready to go! 🎉
Working with Caller IDs
Once you've uploaded the caller IDs, there are 2 final steps:
1. Select how caller IDs should be displayed in each campaign, and,
2. Assign a caller ID to teams or users in Manage Organisation.
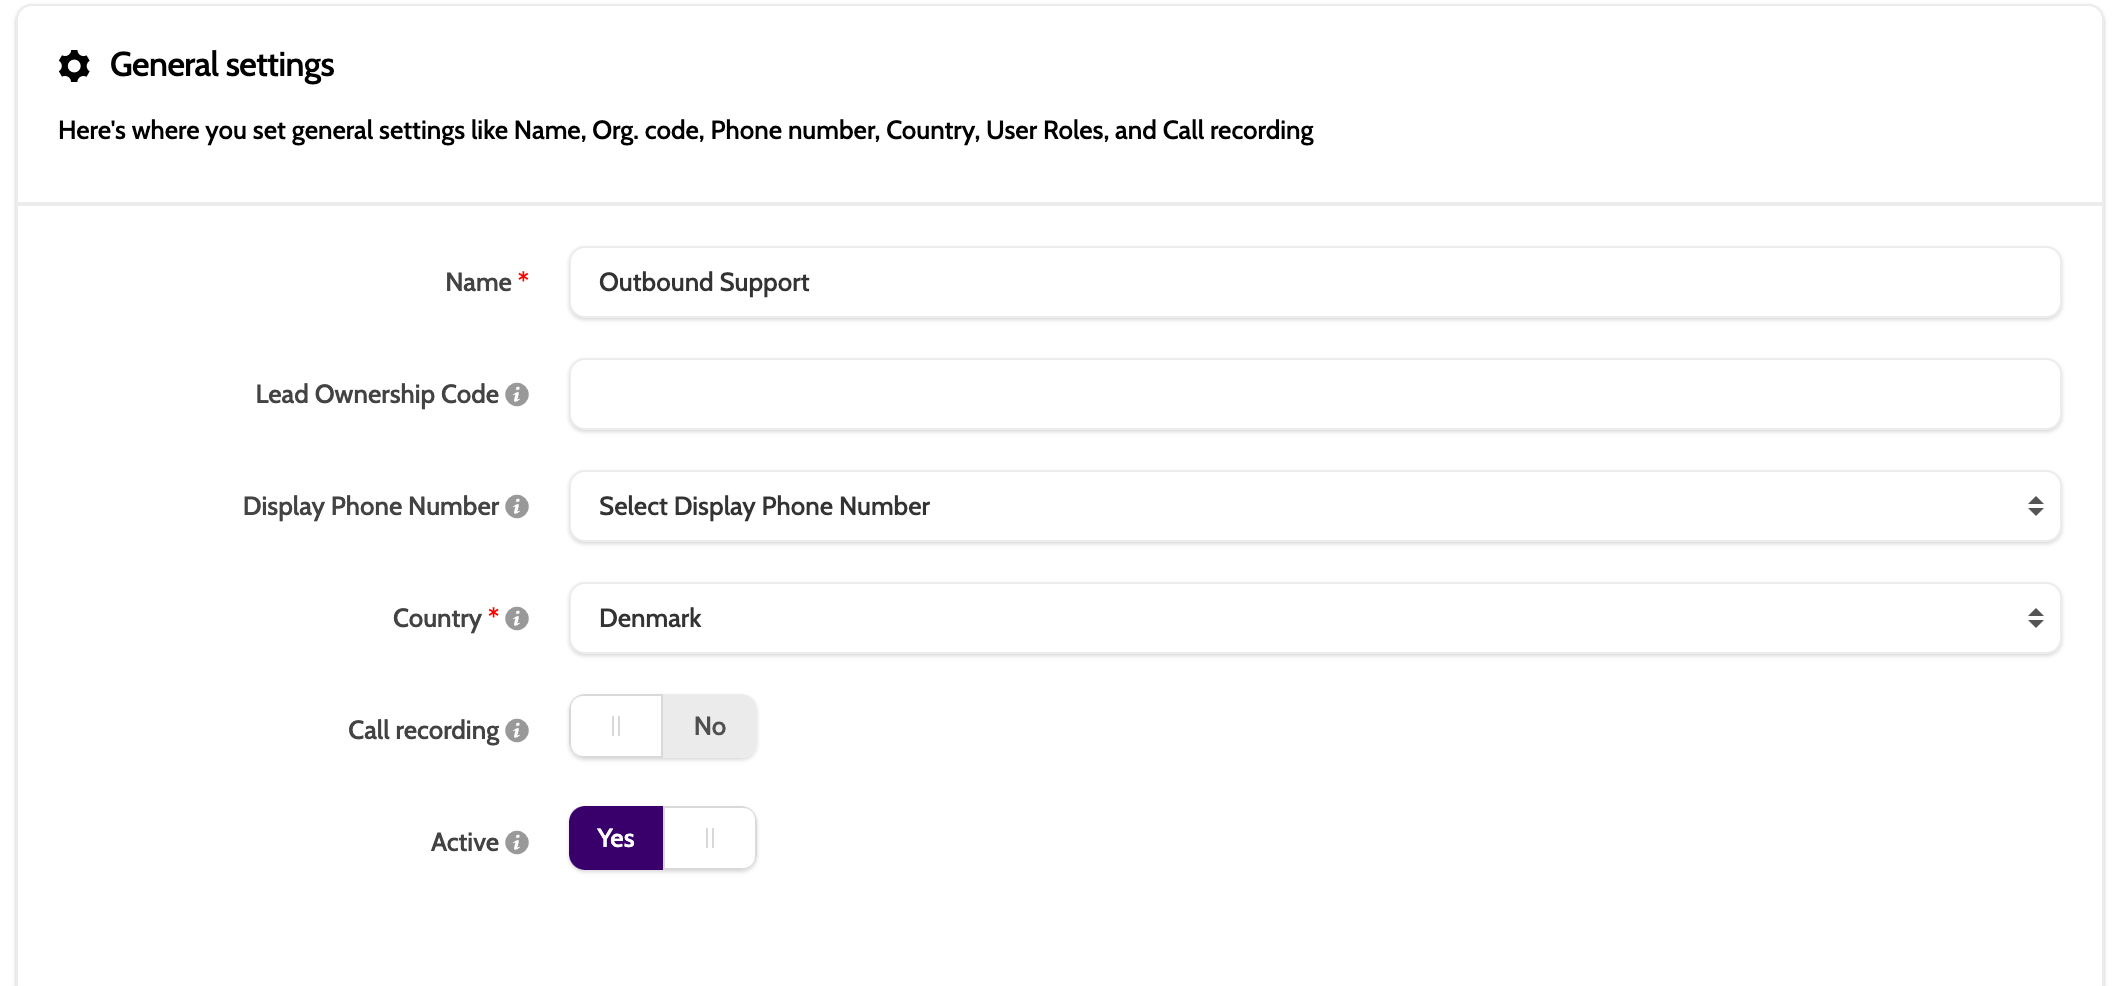
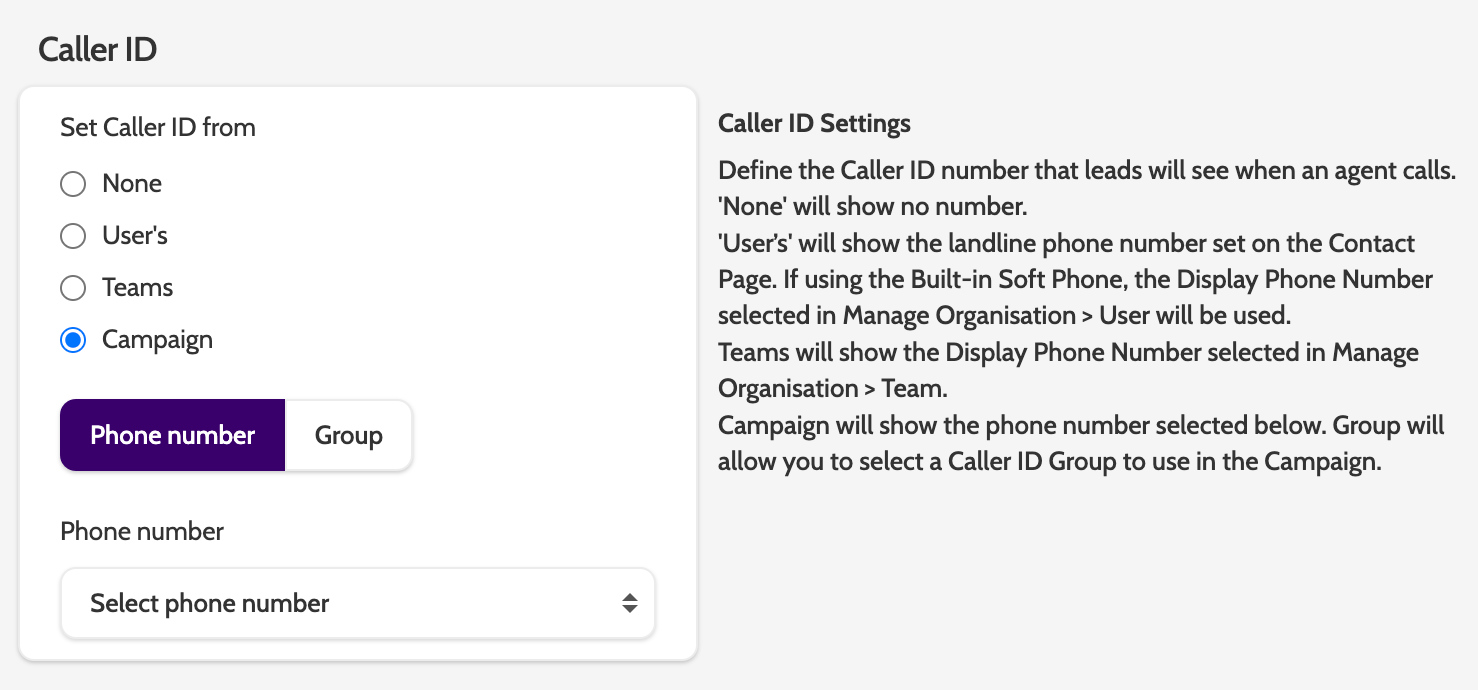
In the campaign settings, select the method under Caller ID.
If you select Campaign and Phone number, the phone number you choose will be displayed as the caller ID to each lead called from this campaign.
If you select Group, choose which dynamic display number group should be used for this campaign. More on that here.
If you've chosen User or Team, then the caller ID can be selected in the team and individual user settings in Manage Organisation, in Display Phone Number.