
Flows: Telemarketing
In Telemarketing, you can create campaigns to send leads from Flows directly to your Outbound account, ready to be called.
In this article:
Navigation
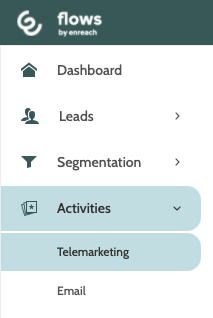
Telemarketing can be found under the Activities menu.
In the navigation page you can gain an overview of your Telemarketing Connections and Campaigns, and the status of leads being sent from Flows to Outbound.
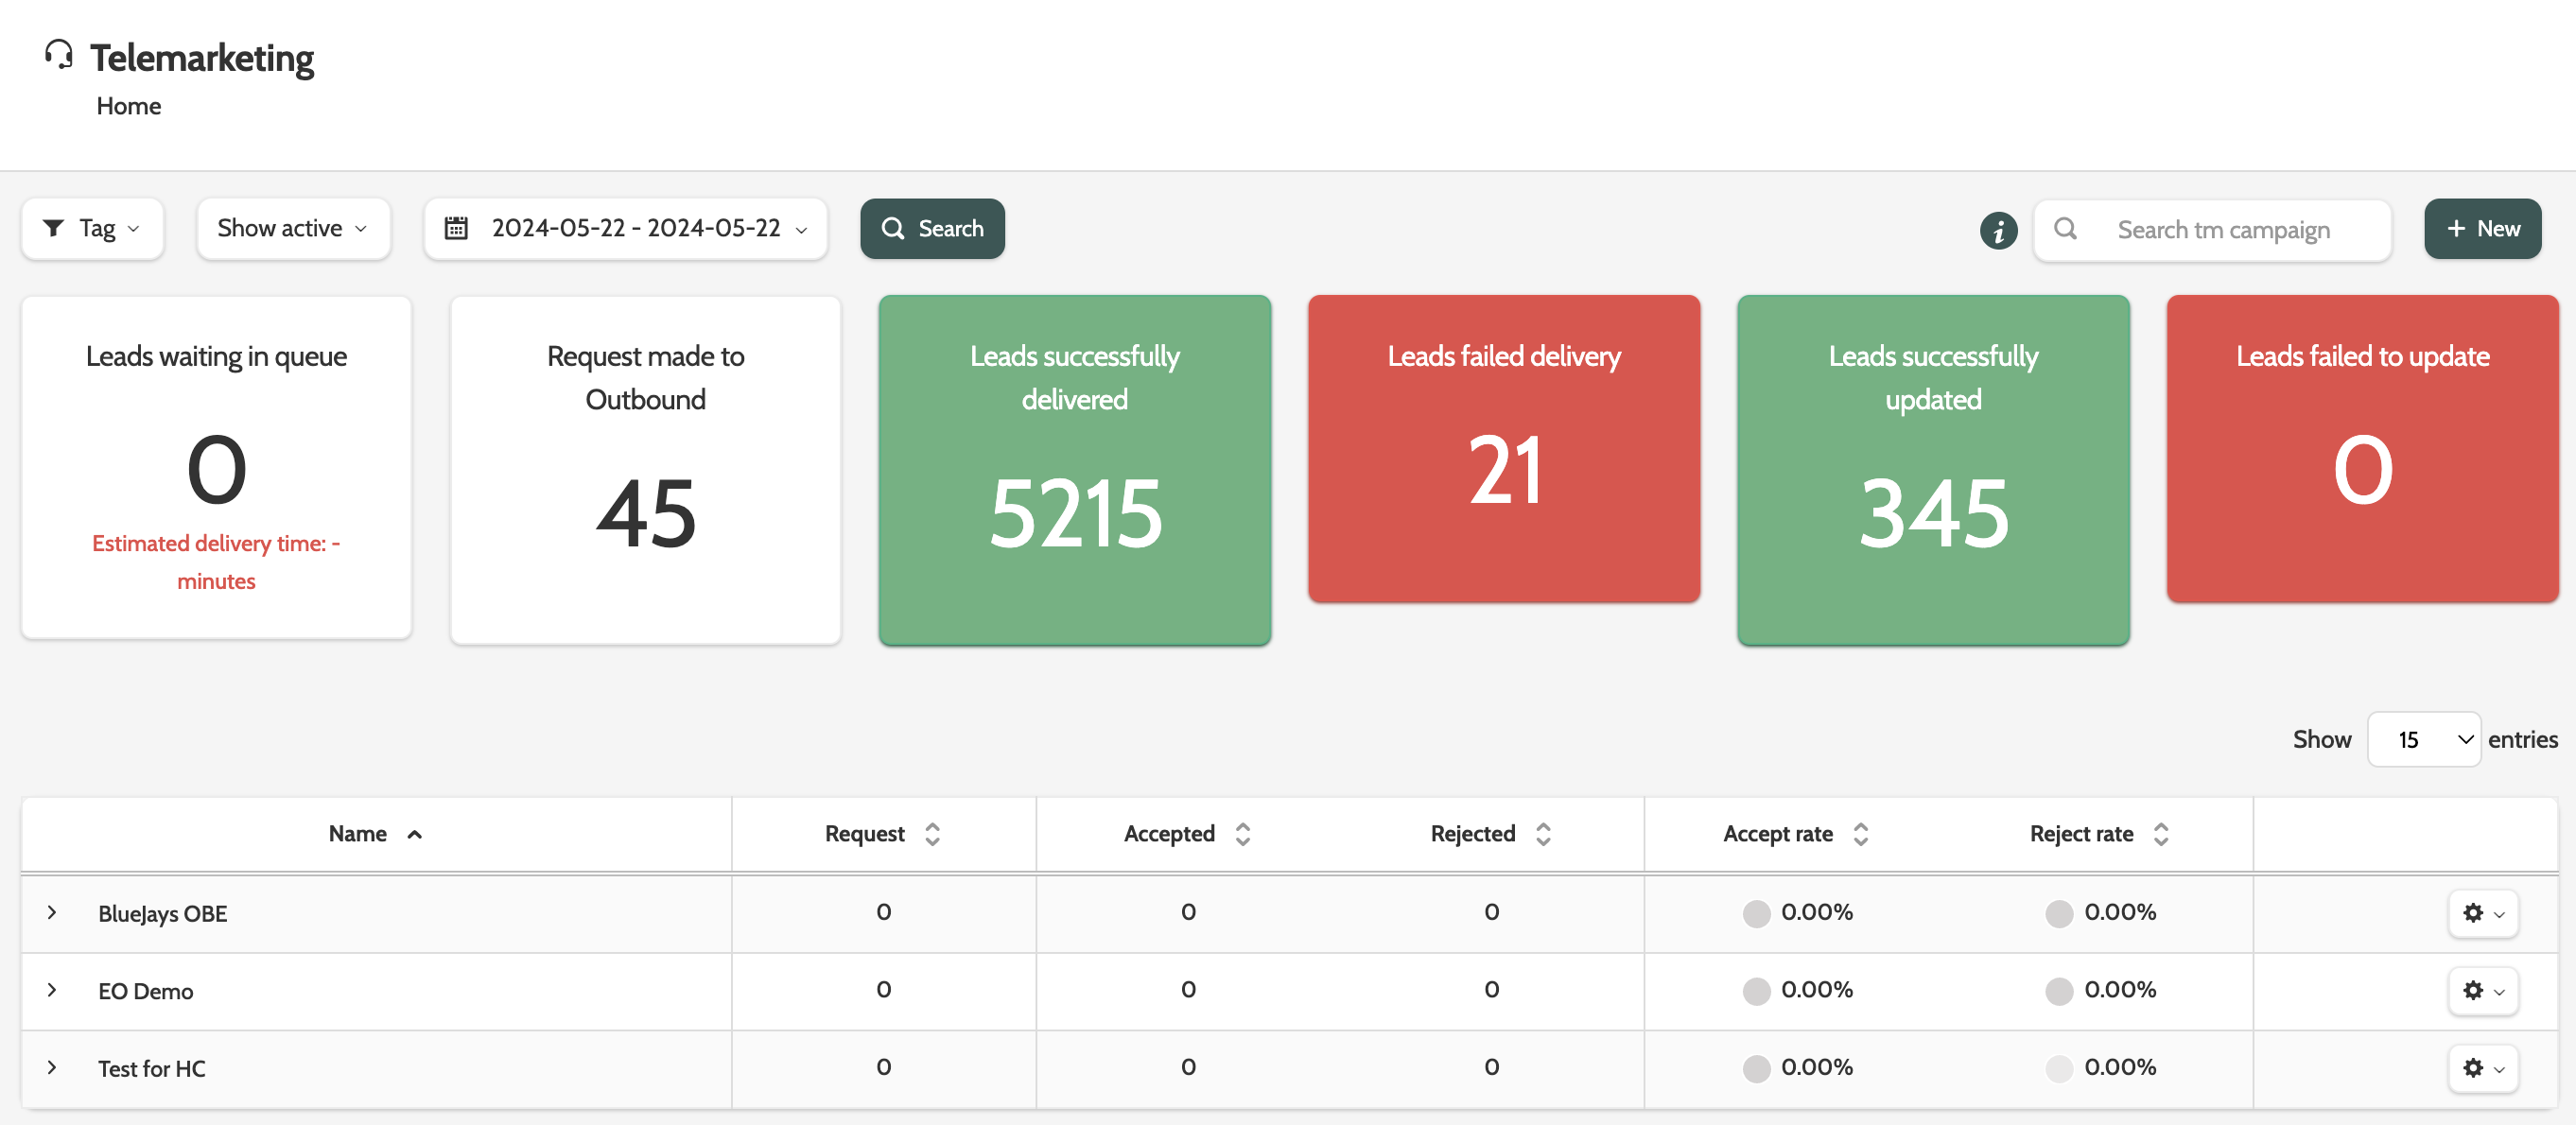
Search for a specific Telemarketing campaign, or click + New to create a new one.

Filter the Telemarketing campaigns by their Tags, their Active or Inactive status, and date.
Click Search to update the view.

Click the cog to the right of the Telemarketing campaign to edit the name or description.
Click the arrows in each of the columns to rearrange the data from highest to lowest.
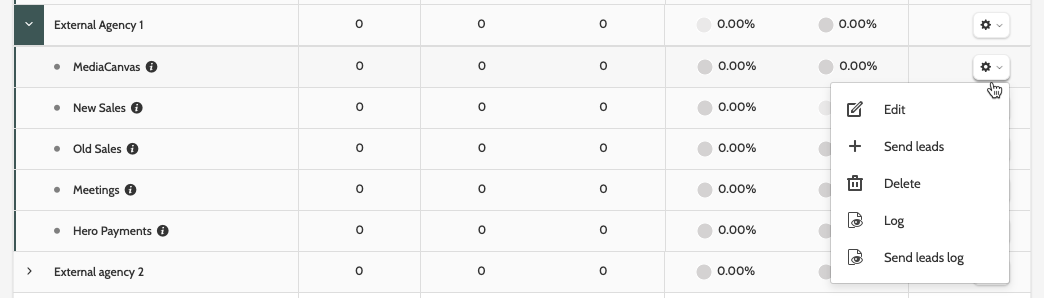
Expand the Telemarketing agency to view all of the Telemarketing campaigns in it.
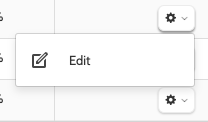
Click the cog to the right and choose between Edit, Send leads, Delete, Log, and Send leads log.
Edit
Click Edit to edit the details of the campaign.
Send leads
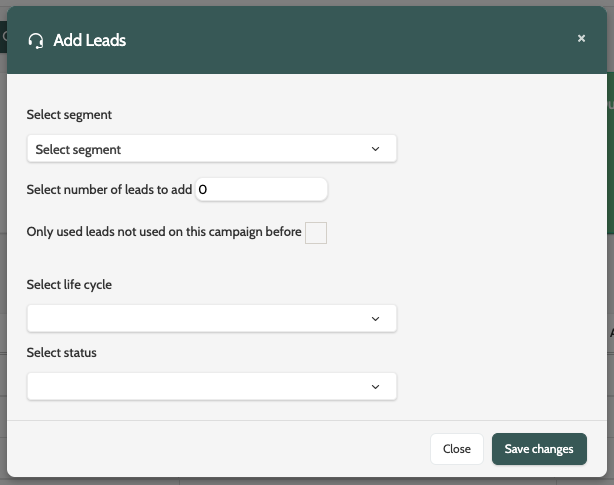
Send leads will allow you to send leads from a segment into the Telemarketing campaign.
Expand the Select segment menu and choose a segment from the list, then add the number of leads that should be added to the Telemarketing campaign in the text field.
Select Only use leads not used on this campaign before if you only want to send fresh leads from the segment to the Telemarketing campaign.
Enter a new Lifecycle status and a lead status that the leads should have once they have been sent to the Telemarketing campaign.
When you are done, click Save changes.
Delete
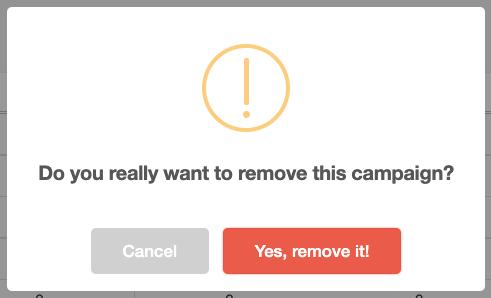
Delete will delete a Telemarketing campaign.
You will be asked to confirm, as deleted campaigns cannot be recovered.
If you are sure, click Yes, remove it!
Log
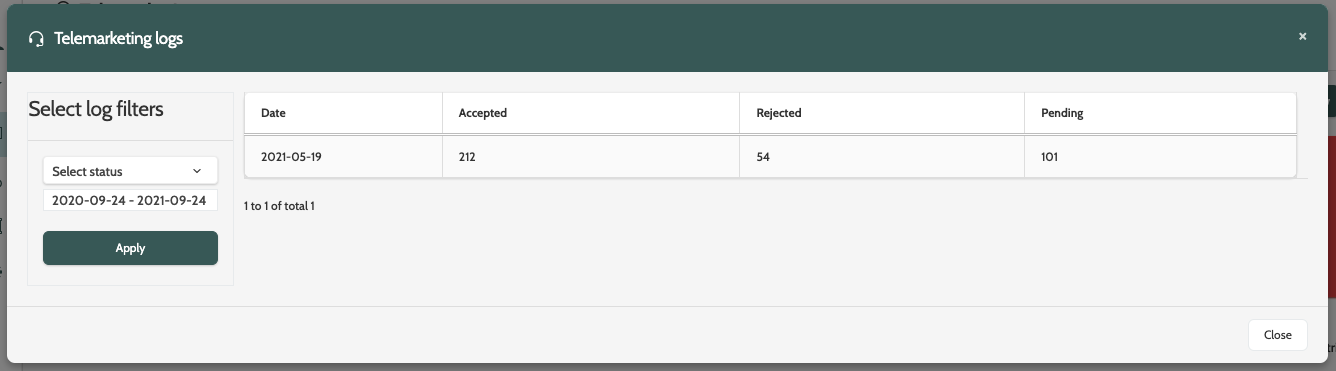
Click Log to view a log of all leads in the Telemarketing campaign that have been Accepted, Rejected, or are Pending.
Expand the Select status menu to filter by a certain status, and click the date text field to adjust the date.
When you are done, click Apply to view the log.
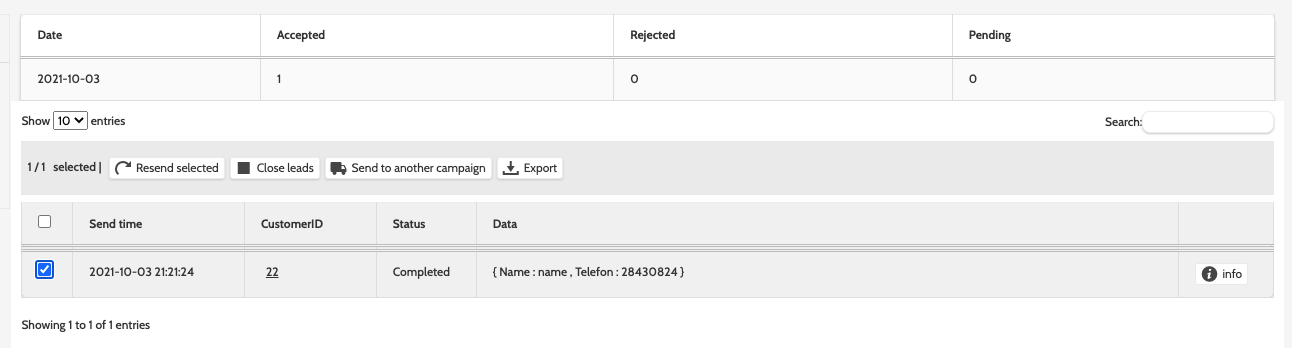
Click a log entry to expand the options to work with the leads.
- Resend selected will resend the checked leads to the Telemarketing campaign
- Close leads will close the selected leads and close the lead in Outbound with a Removed status
- Send to another campaign will allow you to choose a different campaign to send the selected leads to
- Export will export the lead data in a .csv file to your desktop
- Info will open a pop-up containing the lead information.
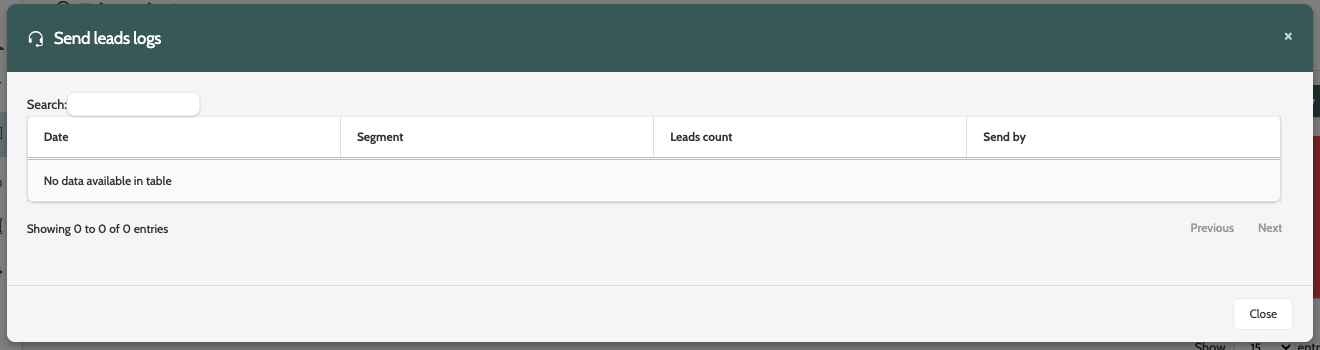
Send leads log
Click Send leads log to view a log of all leads that were sent to the Telemarketing campaign via the Send leads option.
Create a telemarketing campaign
To create a new Telemarketing campaign, click + New in the top right of the navigation page.
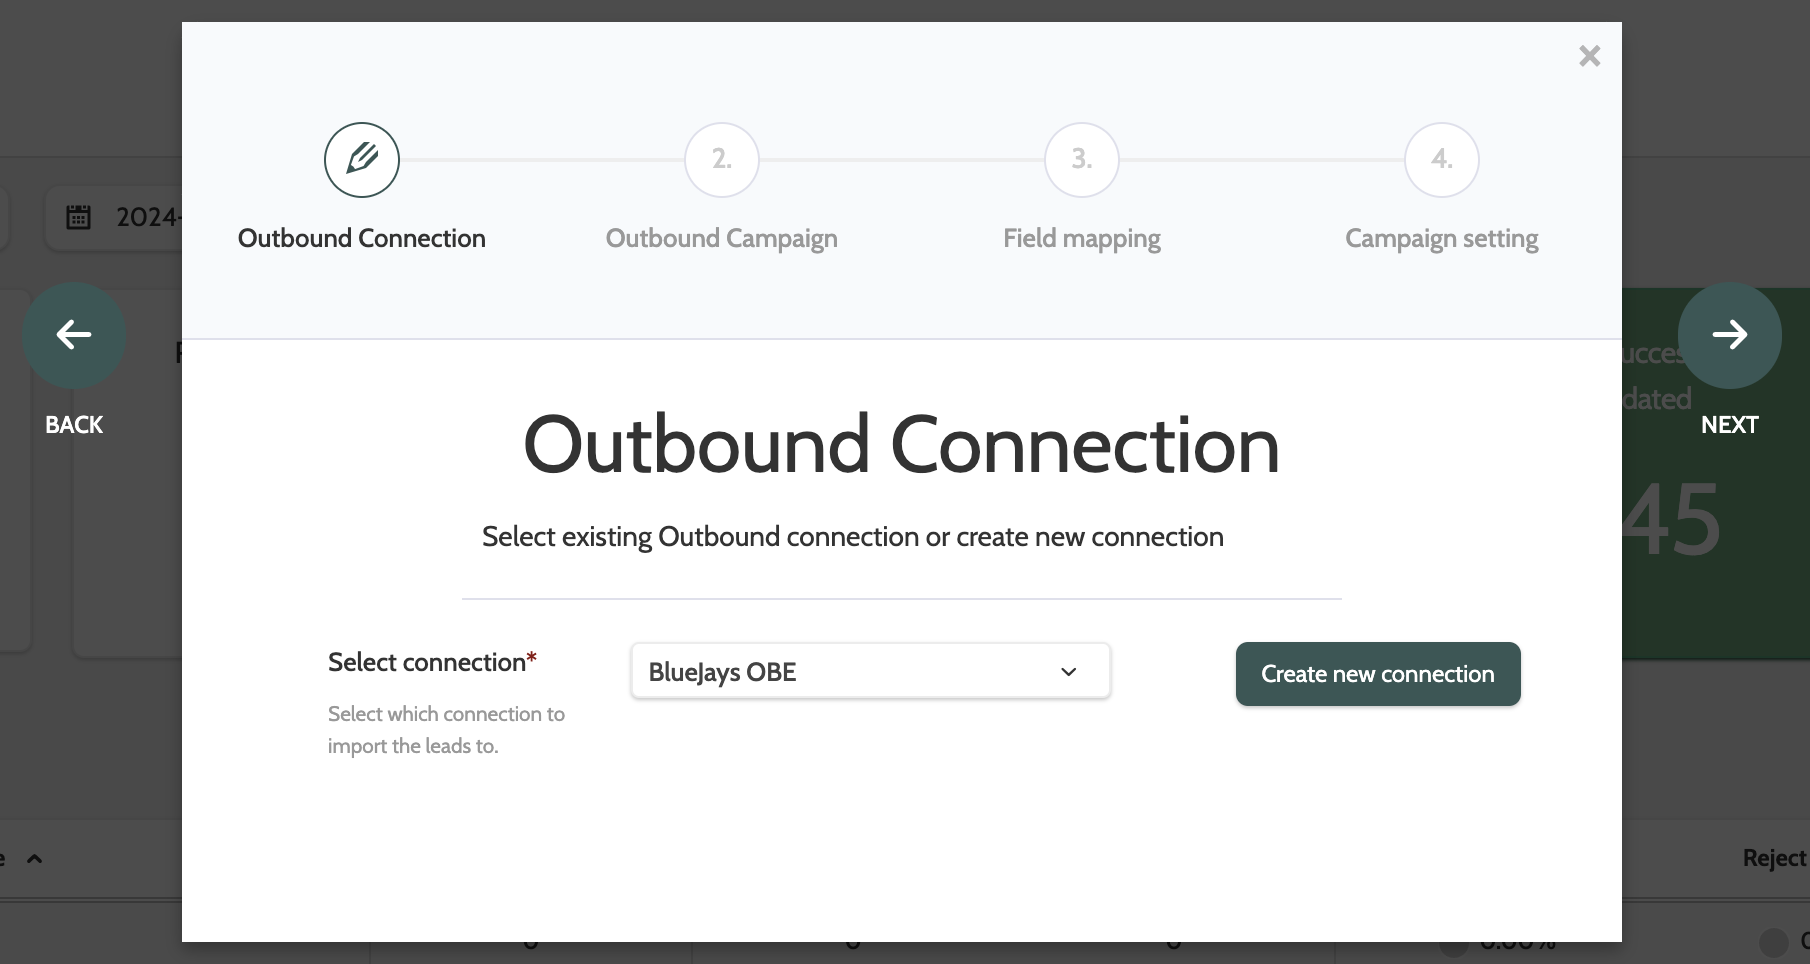
There are four steps to creating a new Outbound Telemarketing connection: Outbound Connection; Outbound Campaign; Field Mapping; Status Mapping, and Campaign Setting.
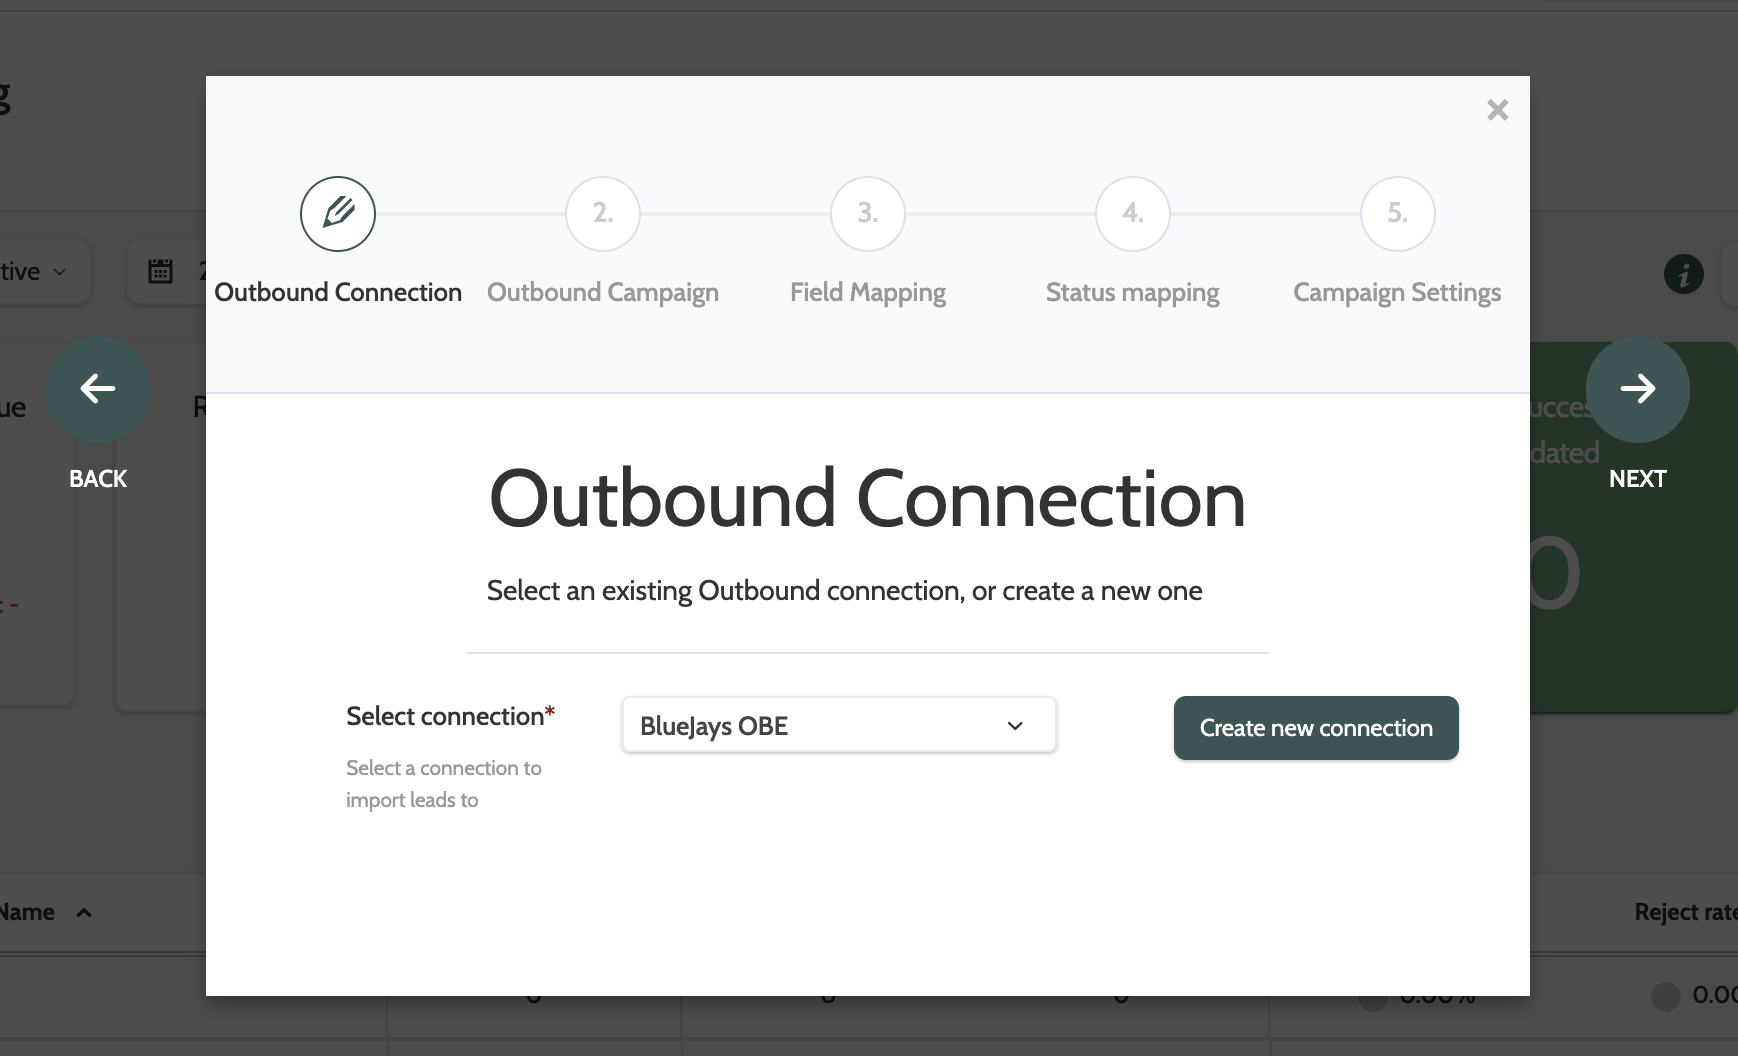
Outbound Connection
First, either select an existing Outbound connection, or click Create new connection.
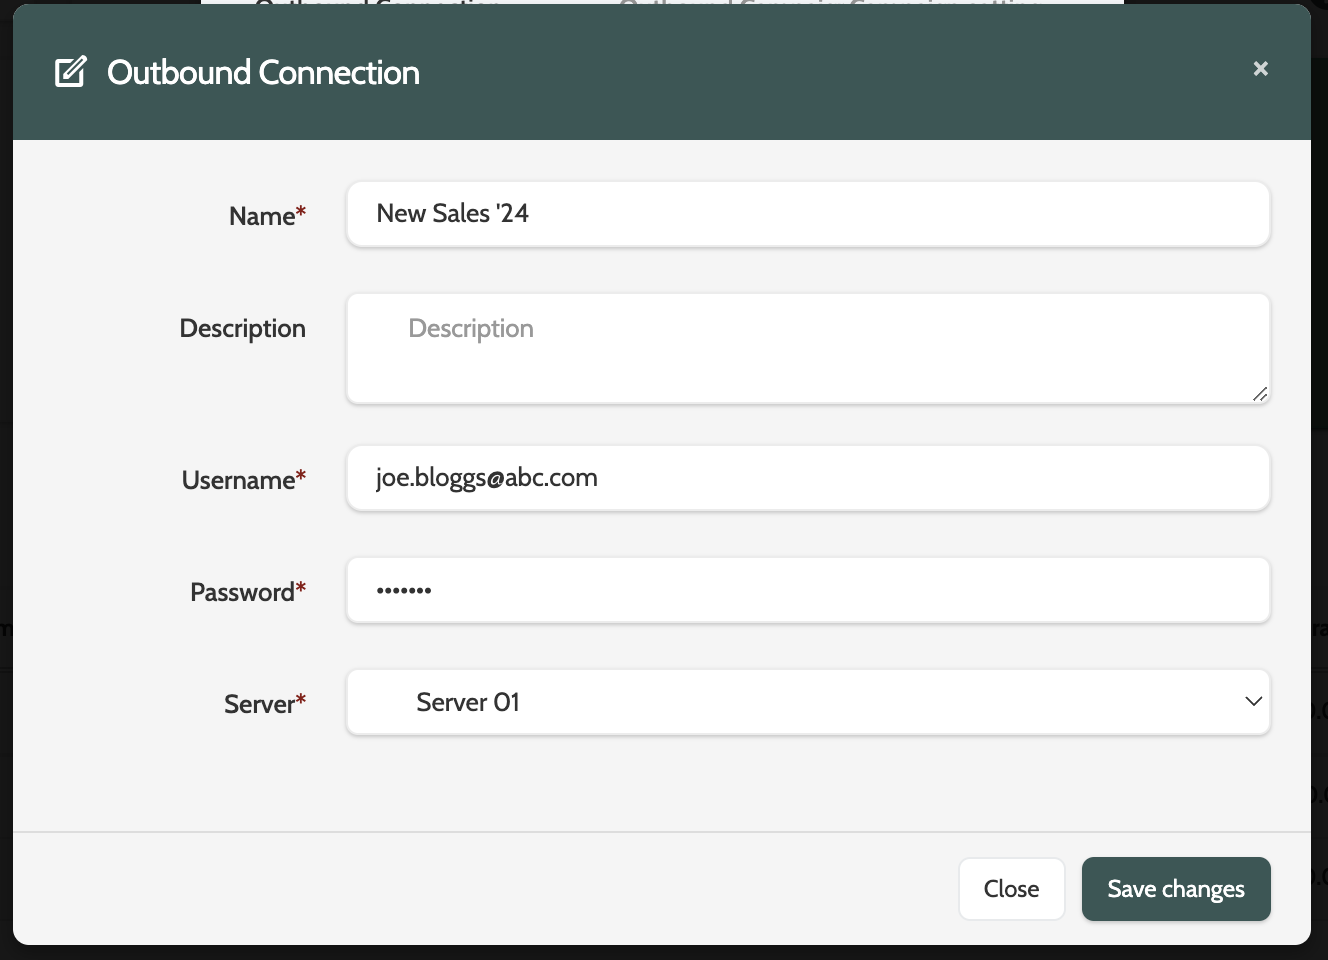
If you are creating a new connection, enter the following information:
- Name: give your connection a unique name
- Description: add an option description for admin purposes
- Username: enter the API username you obtained from Enreach support
- Password: enter the API password
- Server: select which Outbound server you work with. This is found in the URL.
When this is done, select your new connection, and click Next.

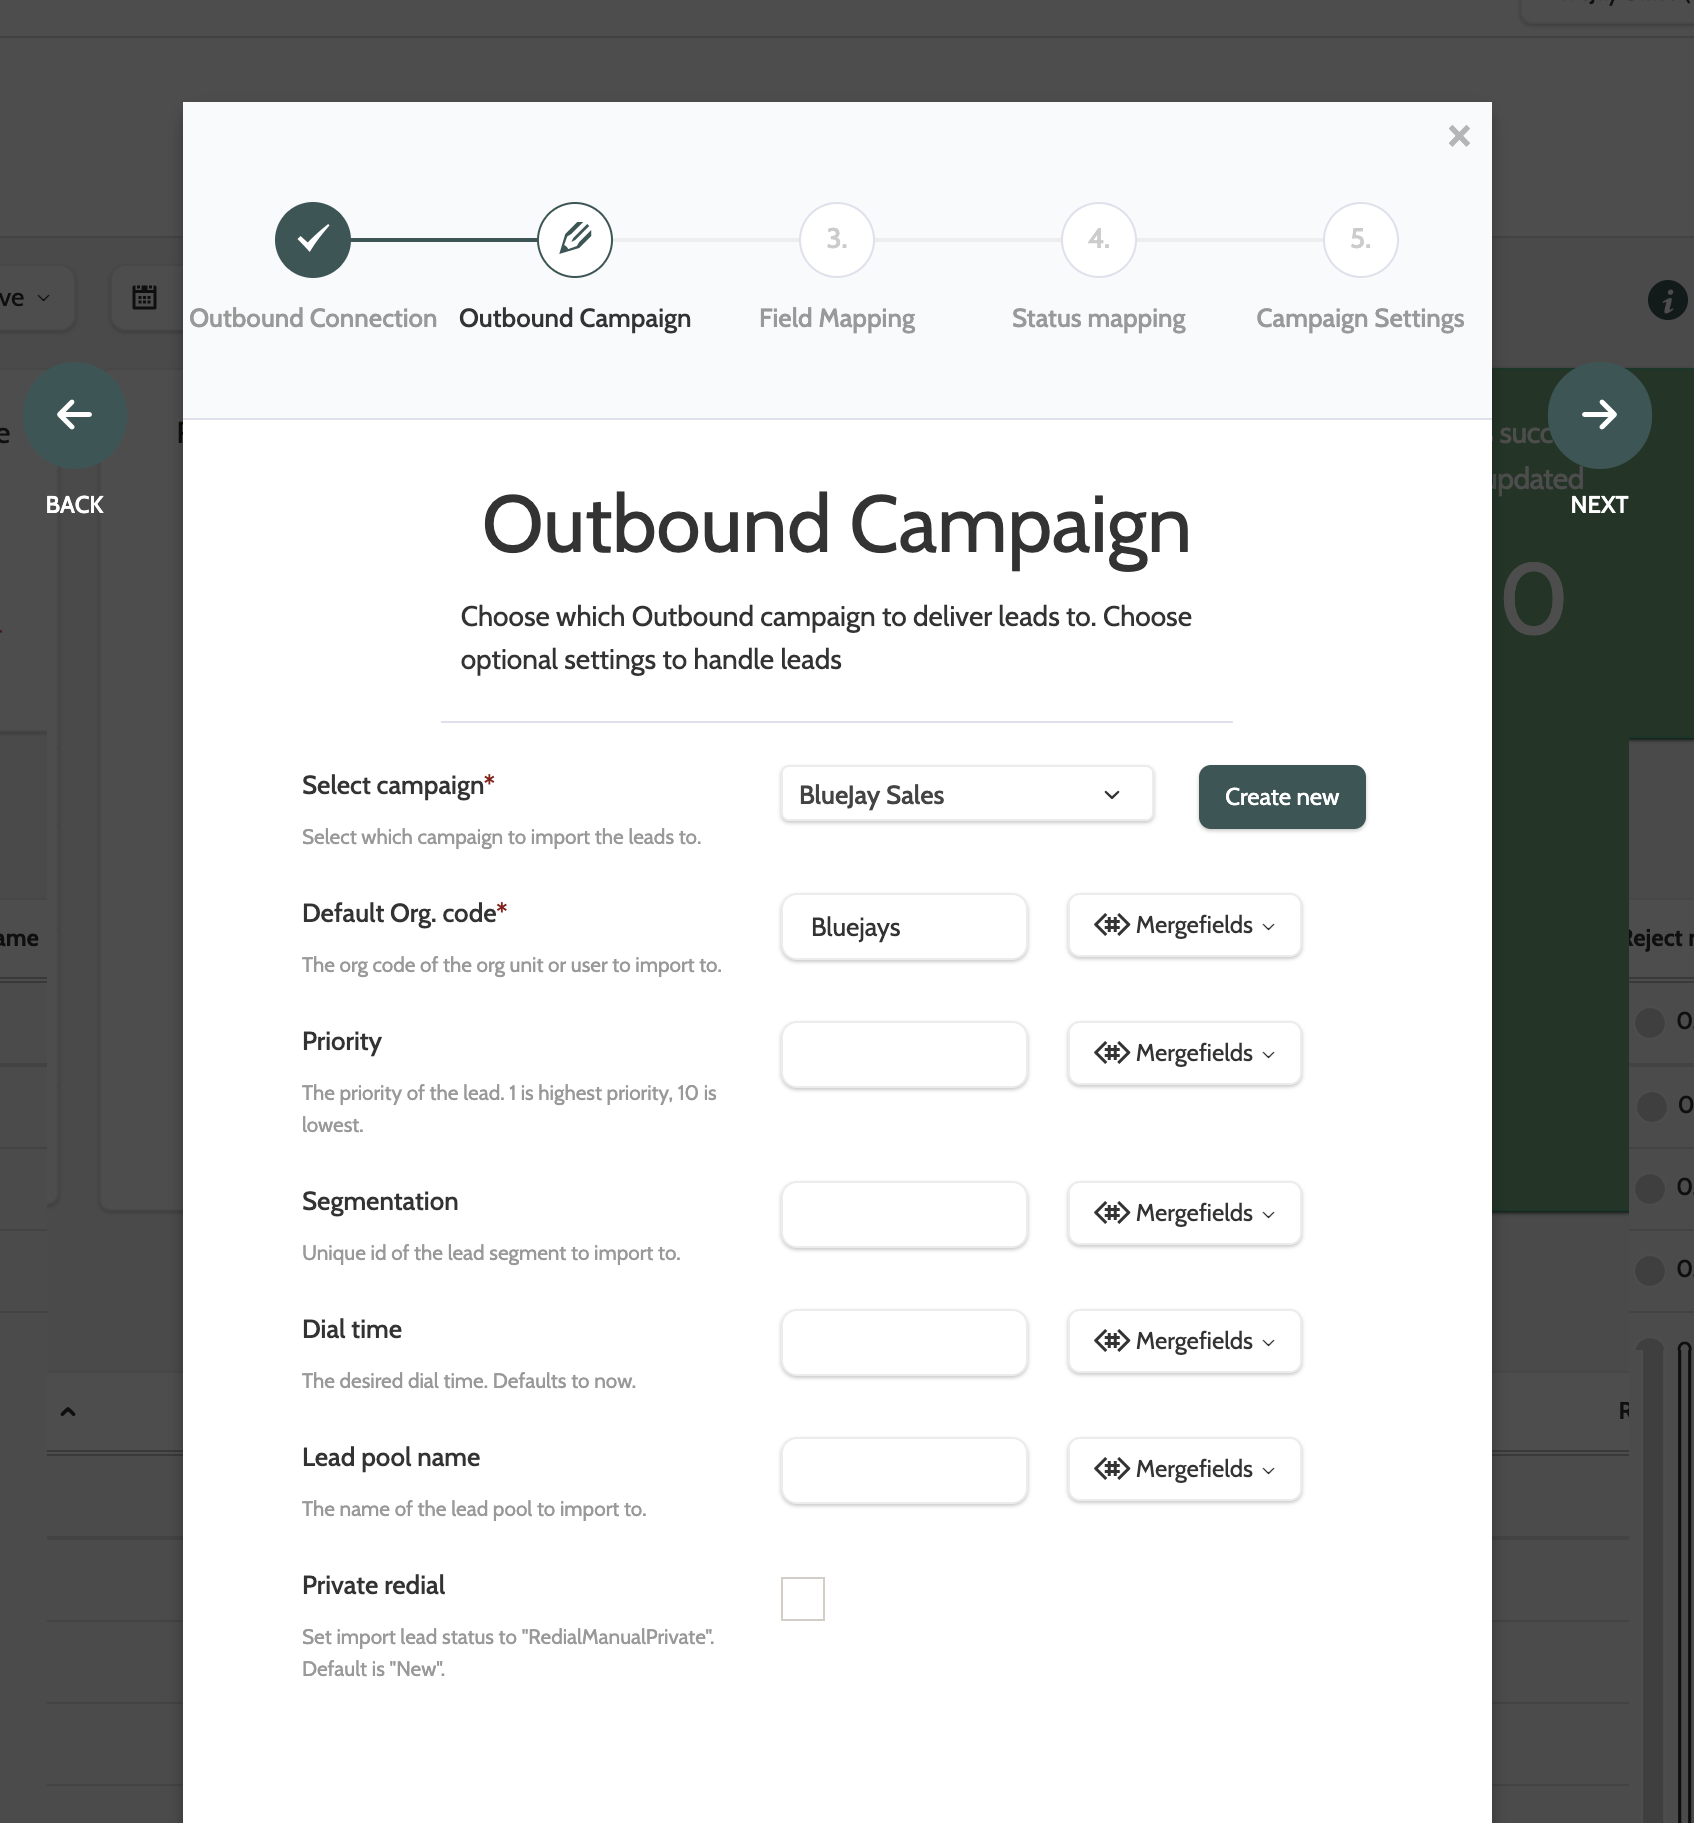
Outbound Campaign
Now it's time to connect your Flows Telemarketing Campaign to your Outbound Campaign.
- Select Campaign: choose the Outbound Campaign you want to send your leads to
- Default Org. code: Enter the Lead Ownership code that will be set as the lead owner for each Lead in Outbound. Please note that we recommend setting the Default Org.code as the Lead Ownership Code of the Organisation in Outbound
- Priority: an optional field to assign leads with a Priority number between 1-10
- Segmentation: an optional field. Enter the name of the Outbound segment you would like to add these leads to
- Dial time: an optional field to add a specific dial time to the leads. If nothing is entered, the current time is default
- Lead pool name: an optional field. Enter the name of the Outbound lead pool to import leads to
- Private redial: optional. Check this box to import the leads as Private redials.
A Note on the Merge Options:
Merging fields in Flows is a great way to customise your leads when they are sent to Outbound.
To use the Merge option, we recommend that you first create a custom lead field here.
Once this is done, use the Merge option to select the custom lead field from the drop-down menu, and merge that lead field data into the lead data in Outbound.
Let's take a look at some examples:
- Merge Segmentation: If you use segments in Outbound, use the Merge Segmentation option to add the lead to a segment. Create a custom lead field in Flows with the same name as the segment in Outbound. When a lead is uploaded with that lead field and segment name, it will automatically be added to the segment in Outbound.
- Merge Dial Time: To upload leads with their own dial time, first create a Dial Time lead field in Flows. Then, when a lead is uploaded with that lead field and a dial time, it will register as the dial time in Outbound. This way your agents will know exactly when a lead should be called.
- Merge Lead Pool Name: To ensure that leads end up in the same lead pool in Outbound, you can use the Merge Lead Pool Name option. Create a custom lead pool field, and enter the name of the lead pool that the lead should be sent to. If the lead pool name doesn't correspond with an existing lead pool in Outbound, then one will be created with the same name.
Field Mapping
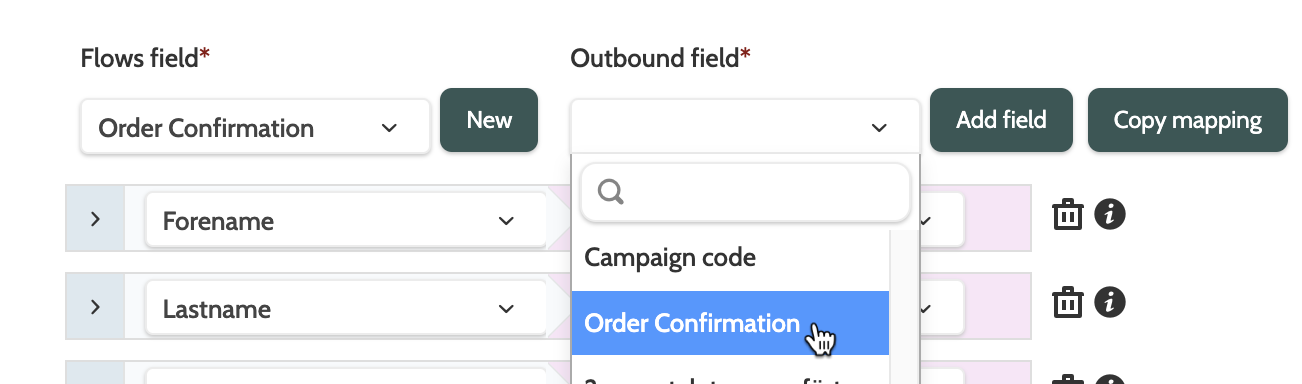
Next, map your Flows lead fields to your Outbound fields.
Outbound fields will automatically be populated with suggested fields to match the Flows field, but can easily be adjusted by selecting another field from the drop-down menu.
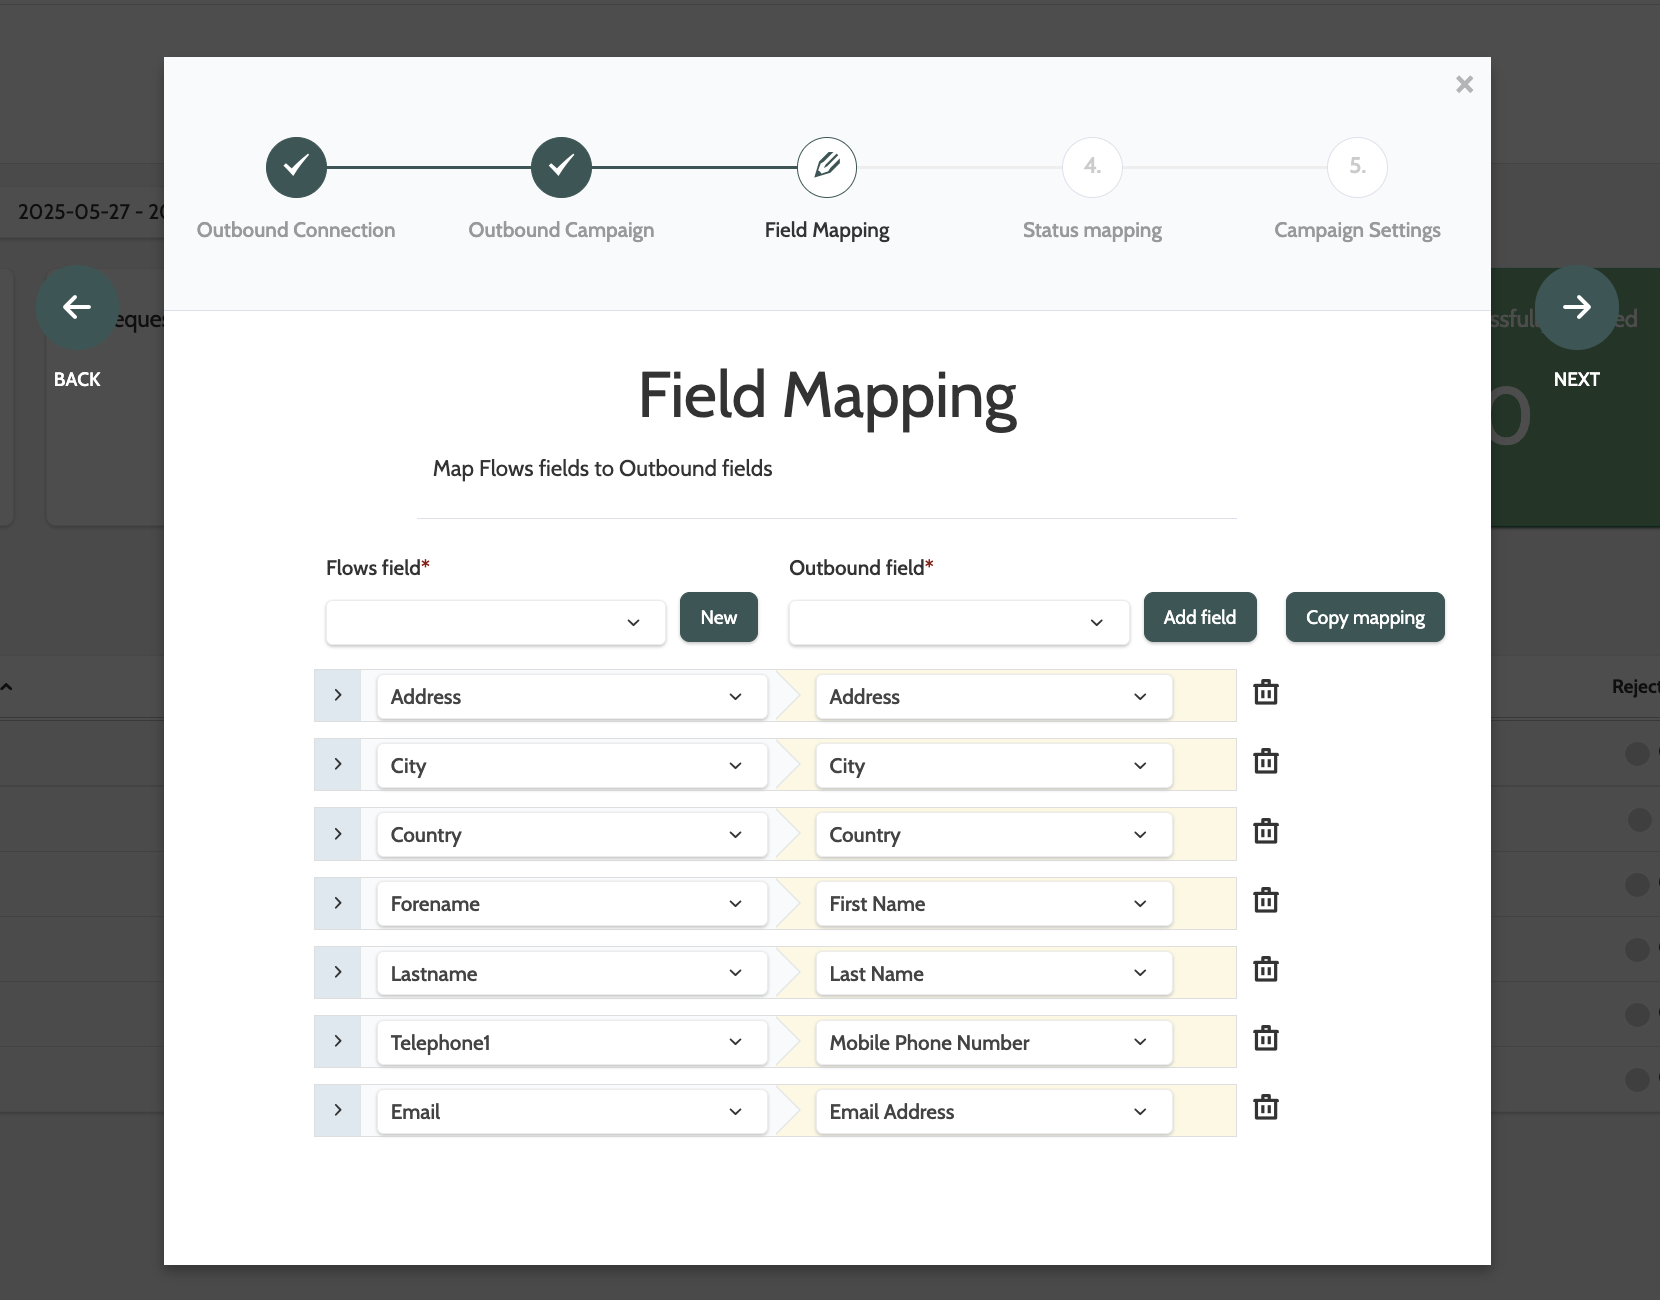
To create a new field from scratch, click New.
This option is useful if you need to map a field, and find that it hasn't been created yet in Flows.
To create a new field, you first need to create a Field Group in Administration. Read how to do that here.
Enter the new field name, choose the data type, and select the field group the field should belong to.
Click Save changes.

Match the field, then click Add field.
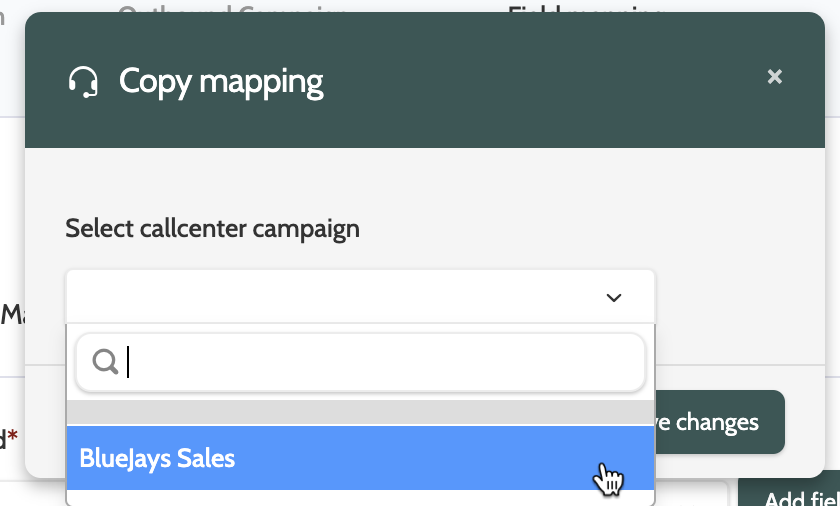
If you want to map fields in bulk from an existing campaign in Outbound, click Copy mapping.
Expand the drop-down menu and select the campaign you want to copy, and click Save changes.
Click Next to move to the next part of the setup.
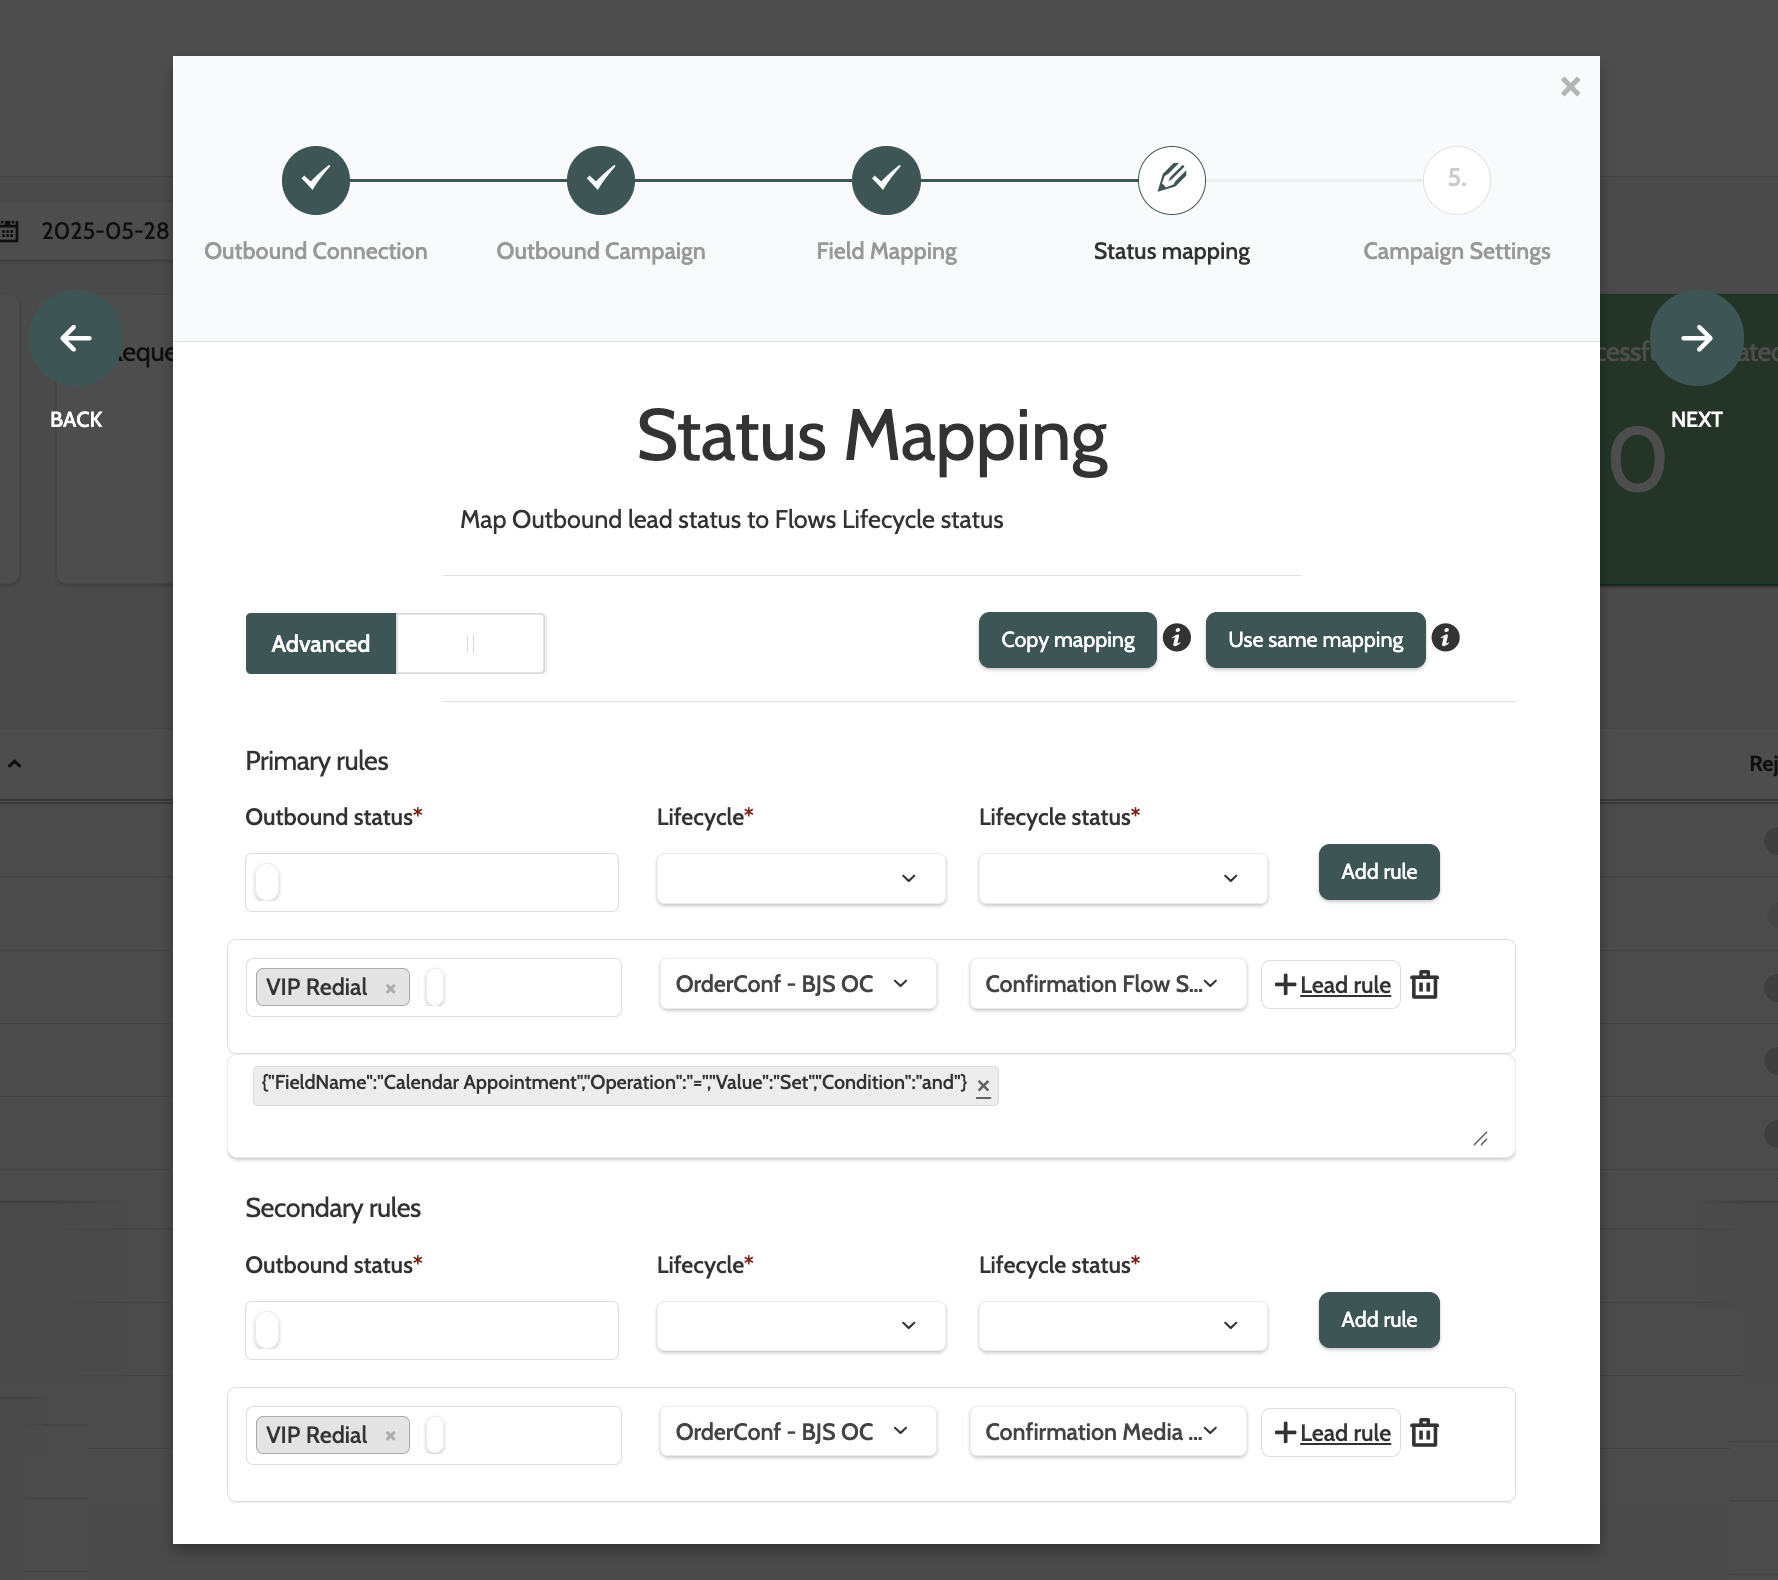
Status Mapping
In Status Mapping, you can set up rules to change a lead's Flow's Lifecycle status based on their Outbound status - perfect for automatically managing the whole lifecycle of a lead.
There are two methods: Basic and Advanced.
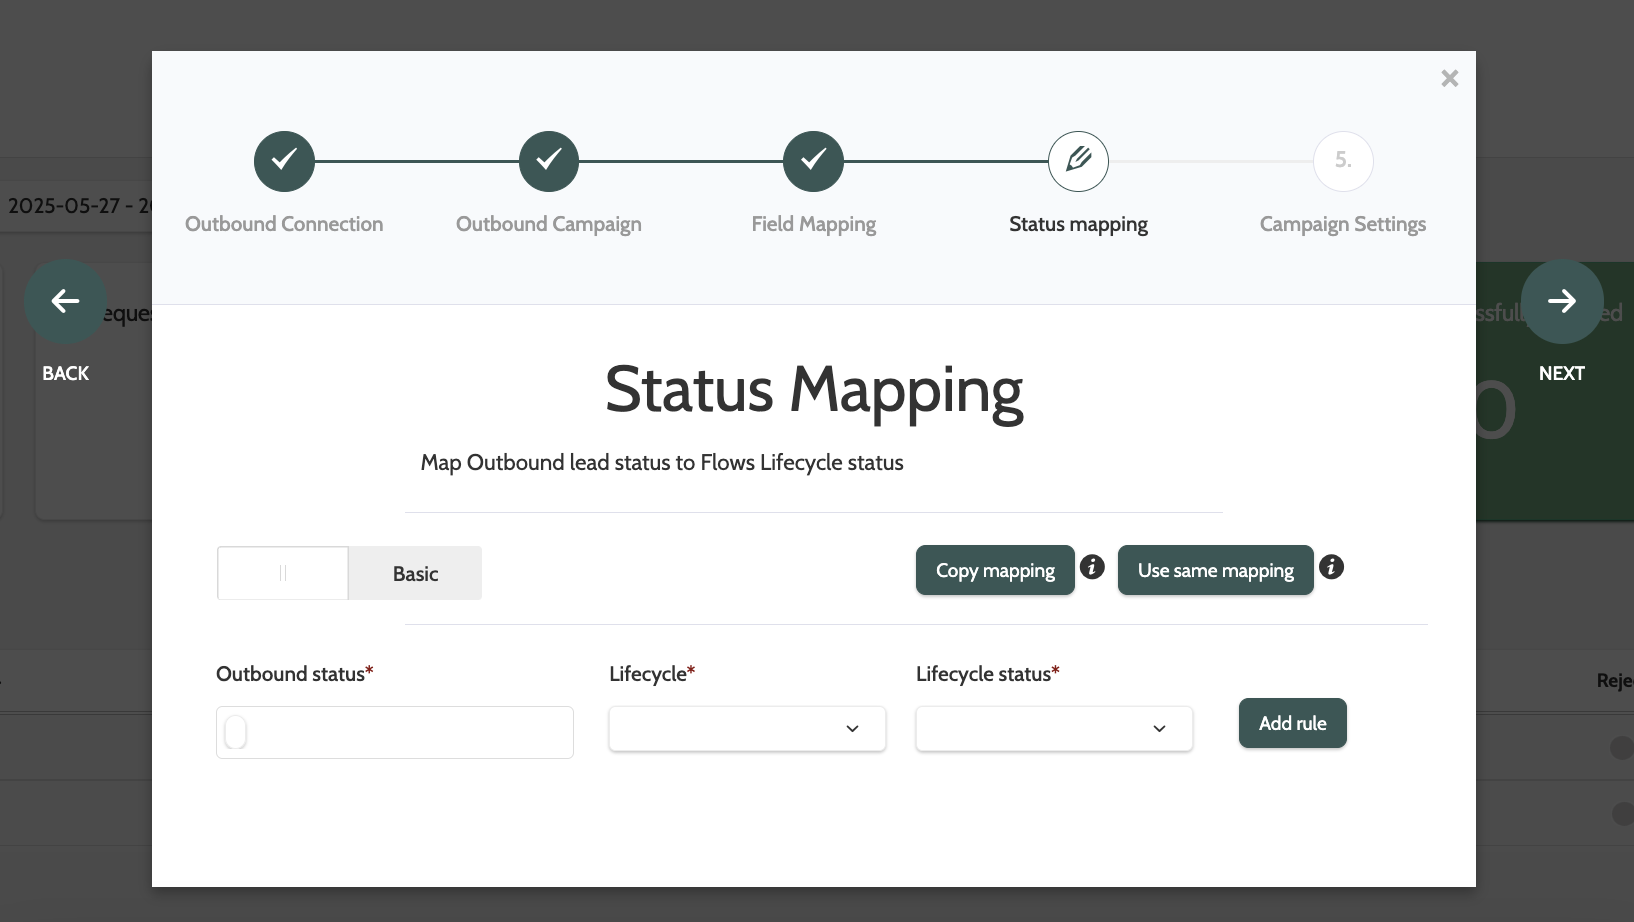
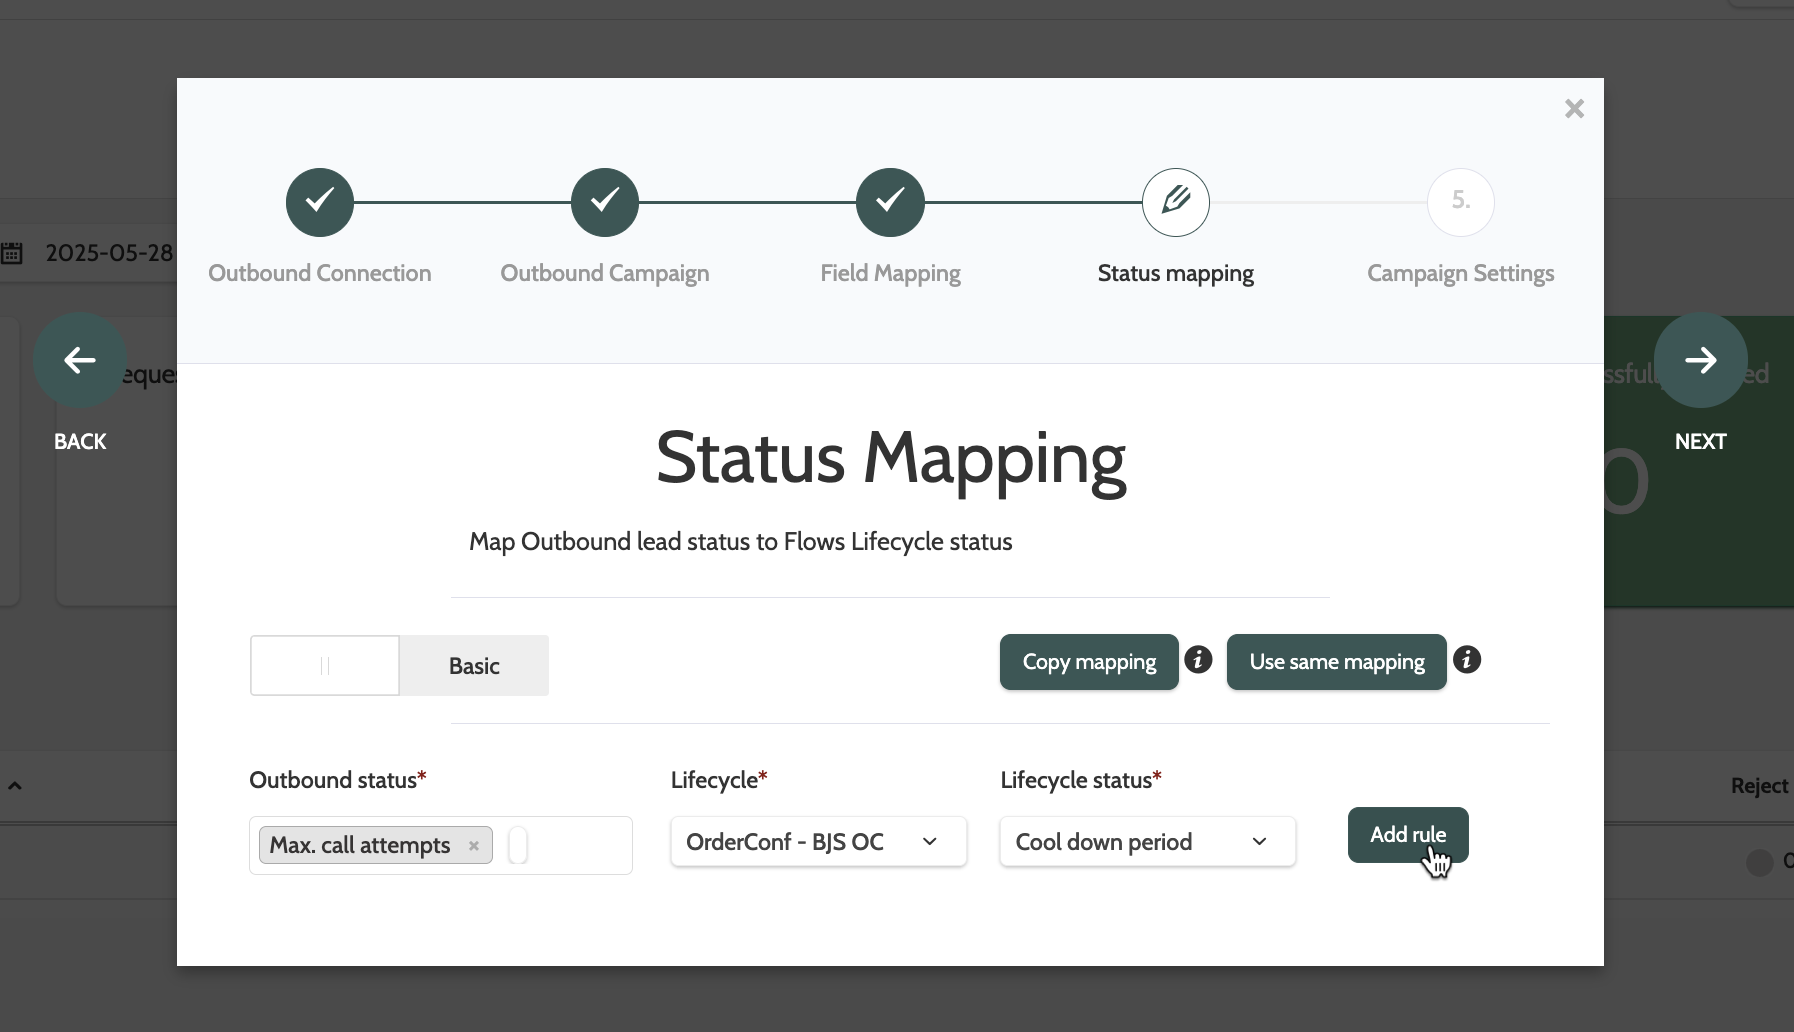
Basic will allow you to first select the status of the lead in Outbound, then which Lifecycle status it will be given in Flows.
In the image below, any leads sent to Outbound via this telemarketing campaign that receive the status Max. call attempts will automatically be placed in the OrderConf - BJS OC Lifecycle with the status Cool down period.
Multiple rules can be added.
- Copy mapping lets you select the status mapping of an existing telemarketing campaign, and edit the rules
- Use same mapping will let you select the status mapping of an existing telemarketing campaign, but it will not be possible to edit the rules.
Advanced will allow you to create a more complex set of rules, with And/Or operators, and to segment leads that match specific values in their lead fields.
In the image below, a lead rule has been added to only the Primary rule, so this is what will happen:
- Primary rule: Outbound leads from this telemarketing campaign with the status VIP Redial and with the condition Set in the Calendar Appointment lead field will be given the Lifecycle status Confirmation Flow Start
- Secondary rule: All other leads with the status VIP Redial that don't have the condition Set in the Calendar Appointment lead field will be give another Lifecycle status called Confirmation Media Sent - Pending Reply.
The primary rule will be executed first, followed by the secondary.
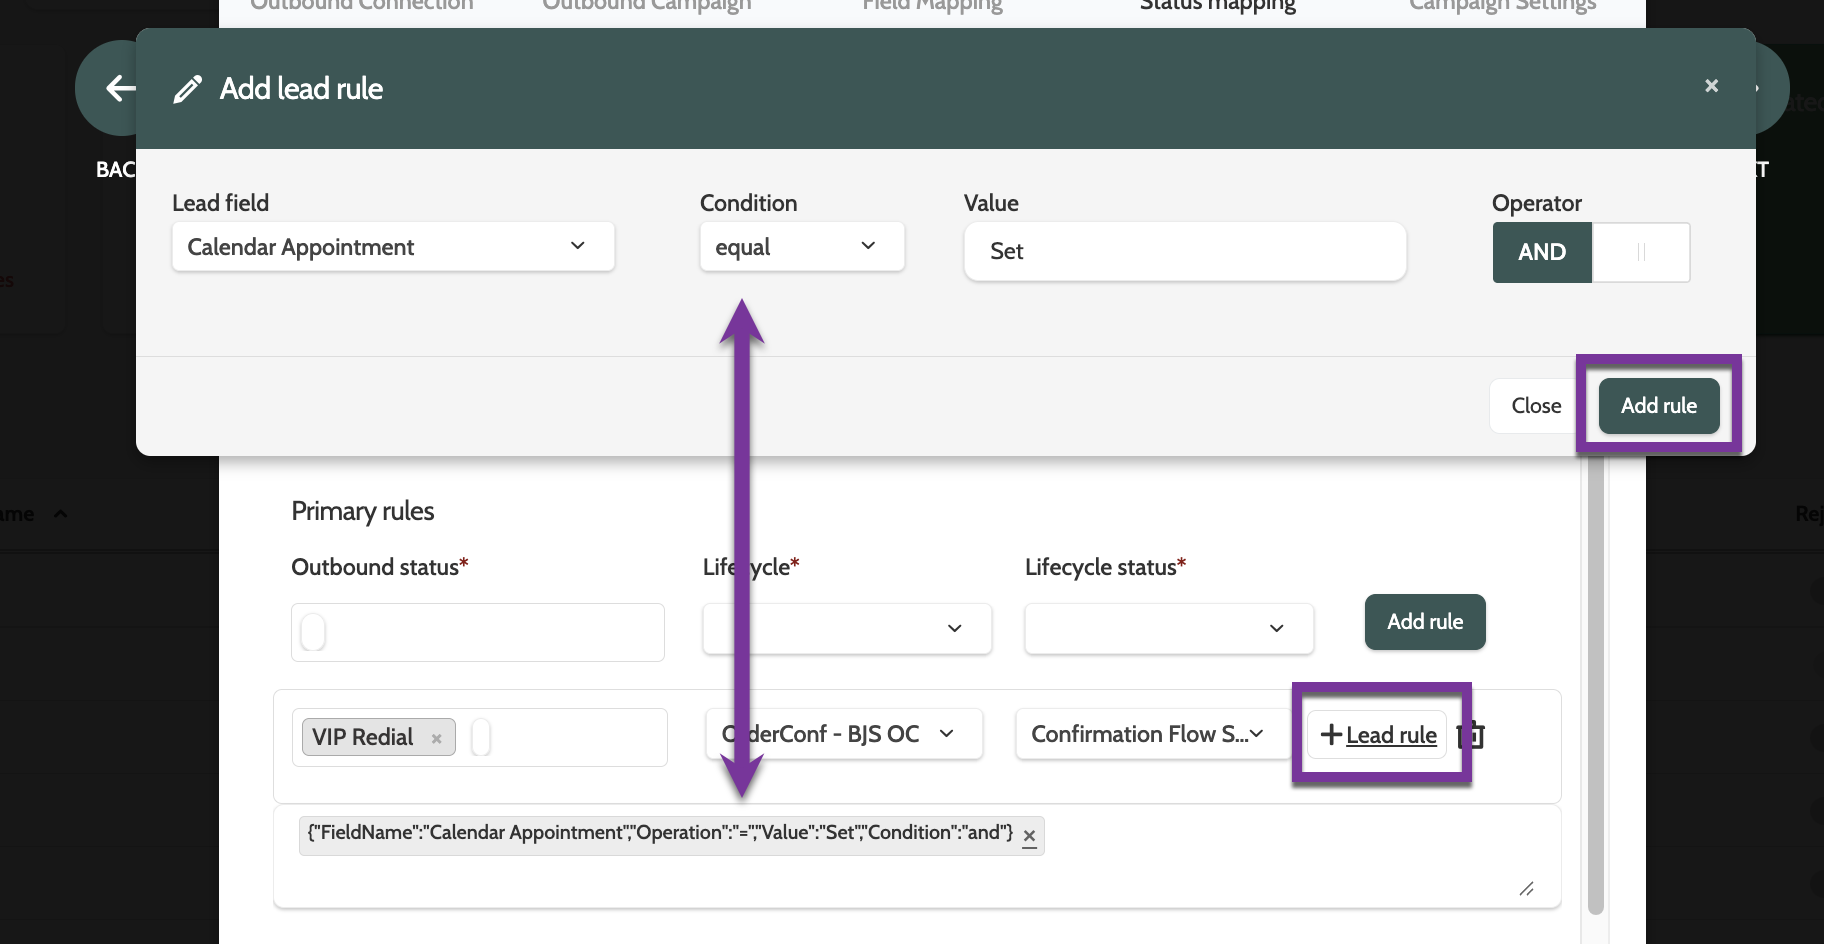
Adding a lead rule to a primary or secondary rule is simple: click the + Lead rule button, enter the lead field, condition, and value, and click Add rule.
Use the Operator toggle to customise your rules when working with multiple lead fields.
Campaign Setting
Under Campaign Setting, enter the remaining details of your Telemarketing connection before it goes live.
Enter a name, and optional tags if you use tags in Outbound to categorise your campaigns.
Next to Source, decide what information you want your Telemarketing campaign to fetch from Outbound. It is recommended that you should tick each source box.
If you want to Get new Leads from [Ext. system], for example a SFTP source, a drop-down menu will be displayed, where you can select the Lead source.
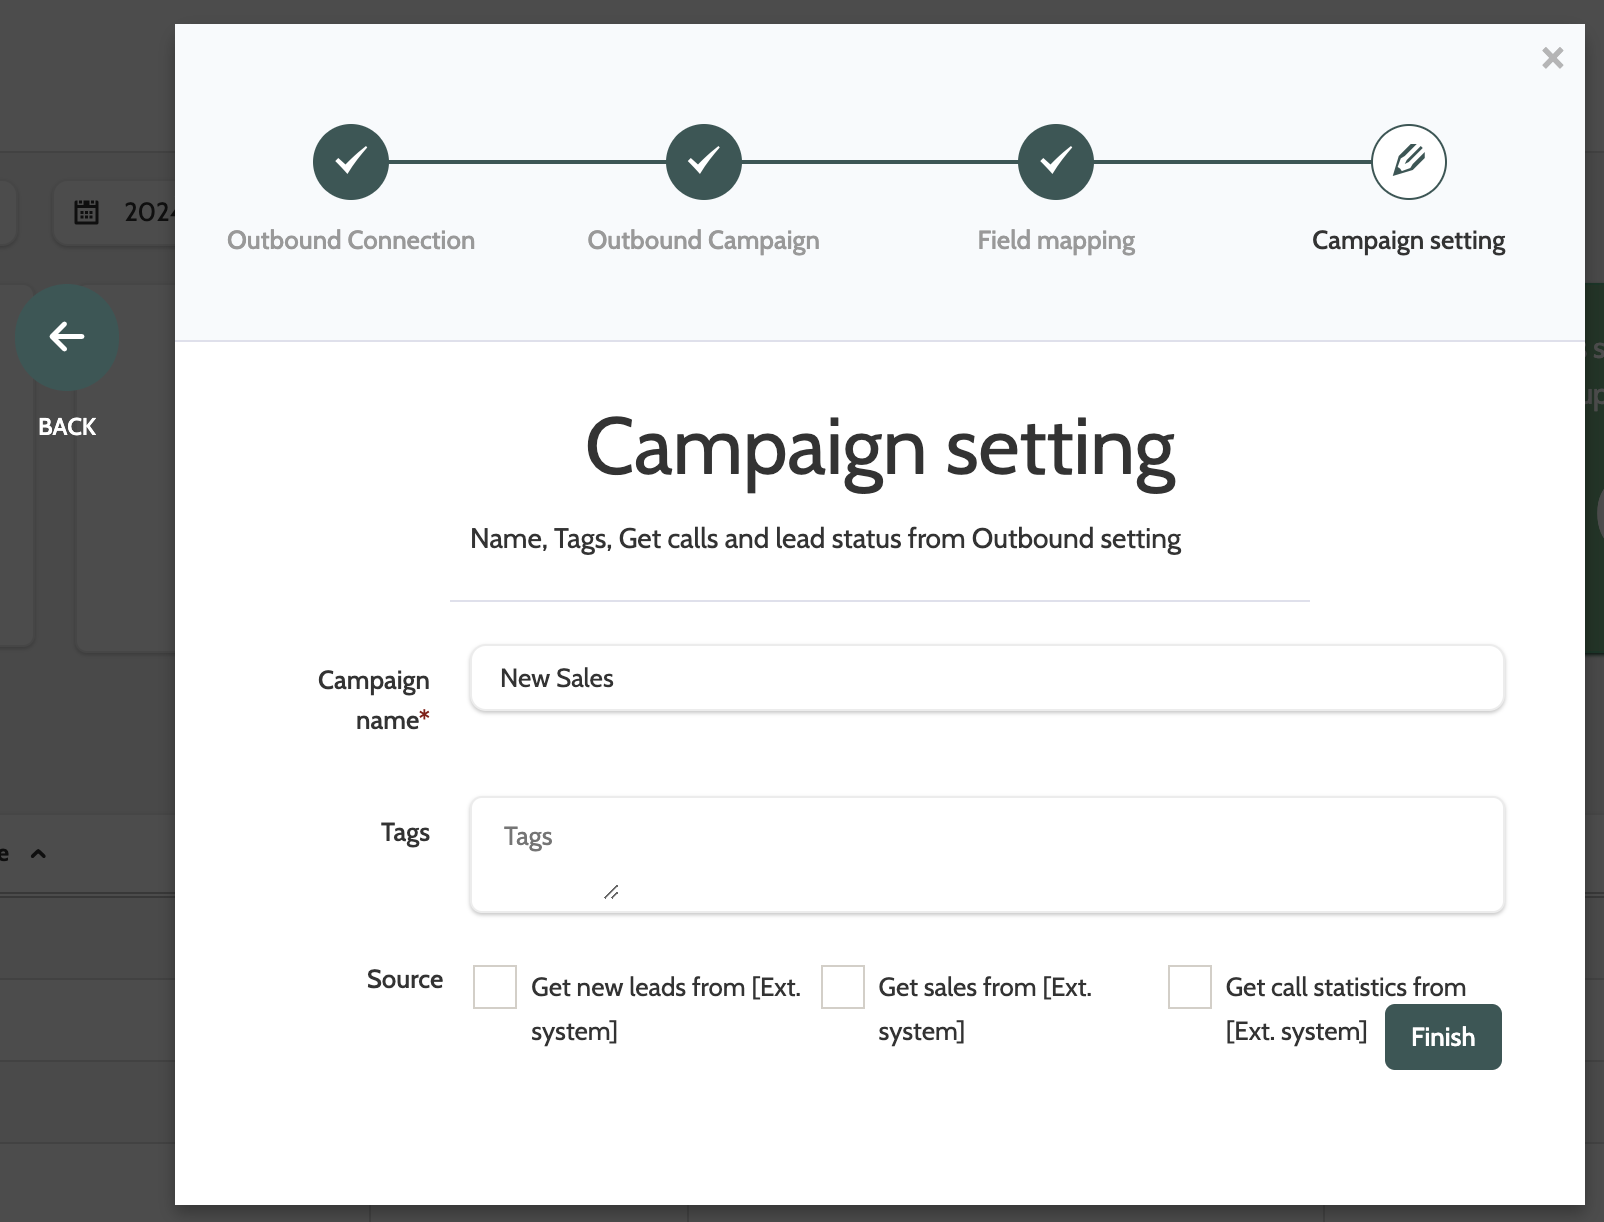
Click Finish to complete your setup!
Your Telemarketing connection will now be available to send leads to your Outbound account.
Telemarketing Reports
To view the reports for your Telemarketing activity, expand the Reporting menu and select Telemarketing.
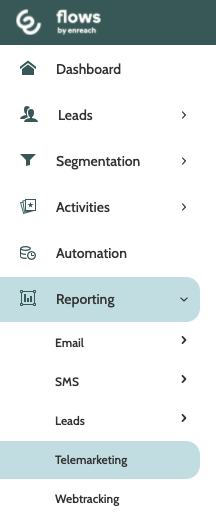
In the Telemarketing Report you can create and view reports for all of your Telemarketing activities.
To read more about Telemarketing Reports, head to this guide.