Administration: Projects
If you are an admin user, here you can create and edit Projects in Outbound, and define essential settings such as deletion rules and dynamic display numbers.
What is a Project?
A project is a container for campaigns in Outbound. Projects are associated with individual clients, and will contain all campaigns related to that specific client.
As an admin, you will be able to create a new project whenever you receive a new client or assignment. Deletion rules are also set within projects.
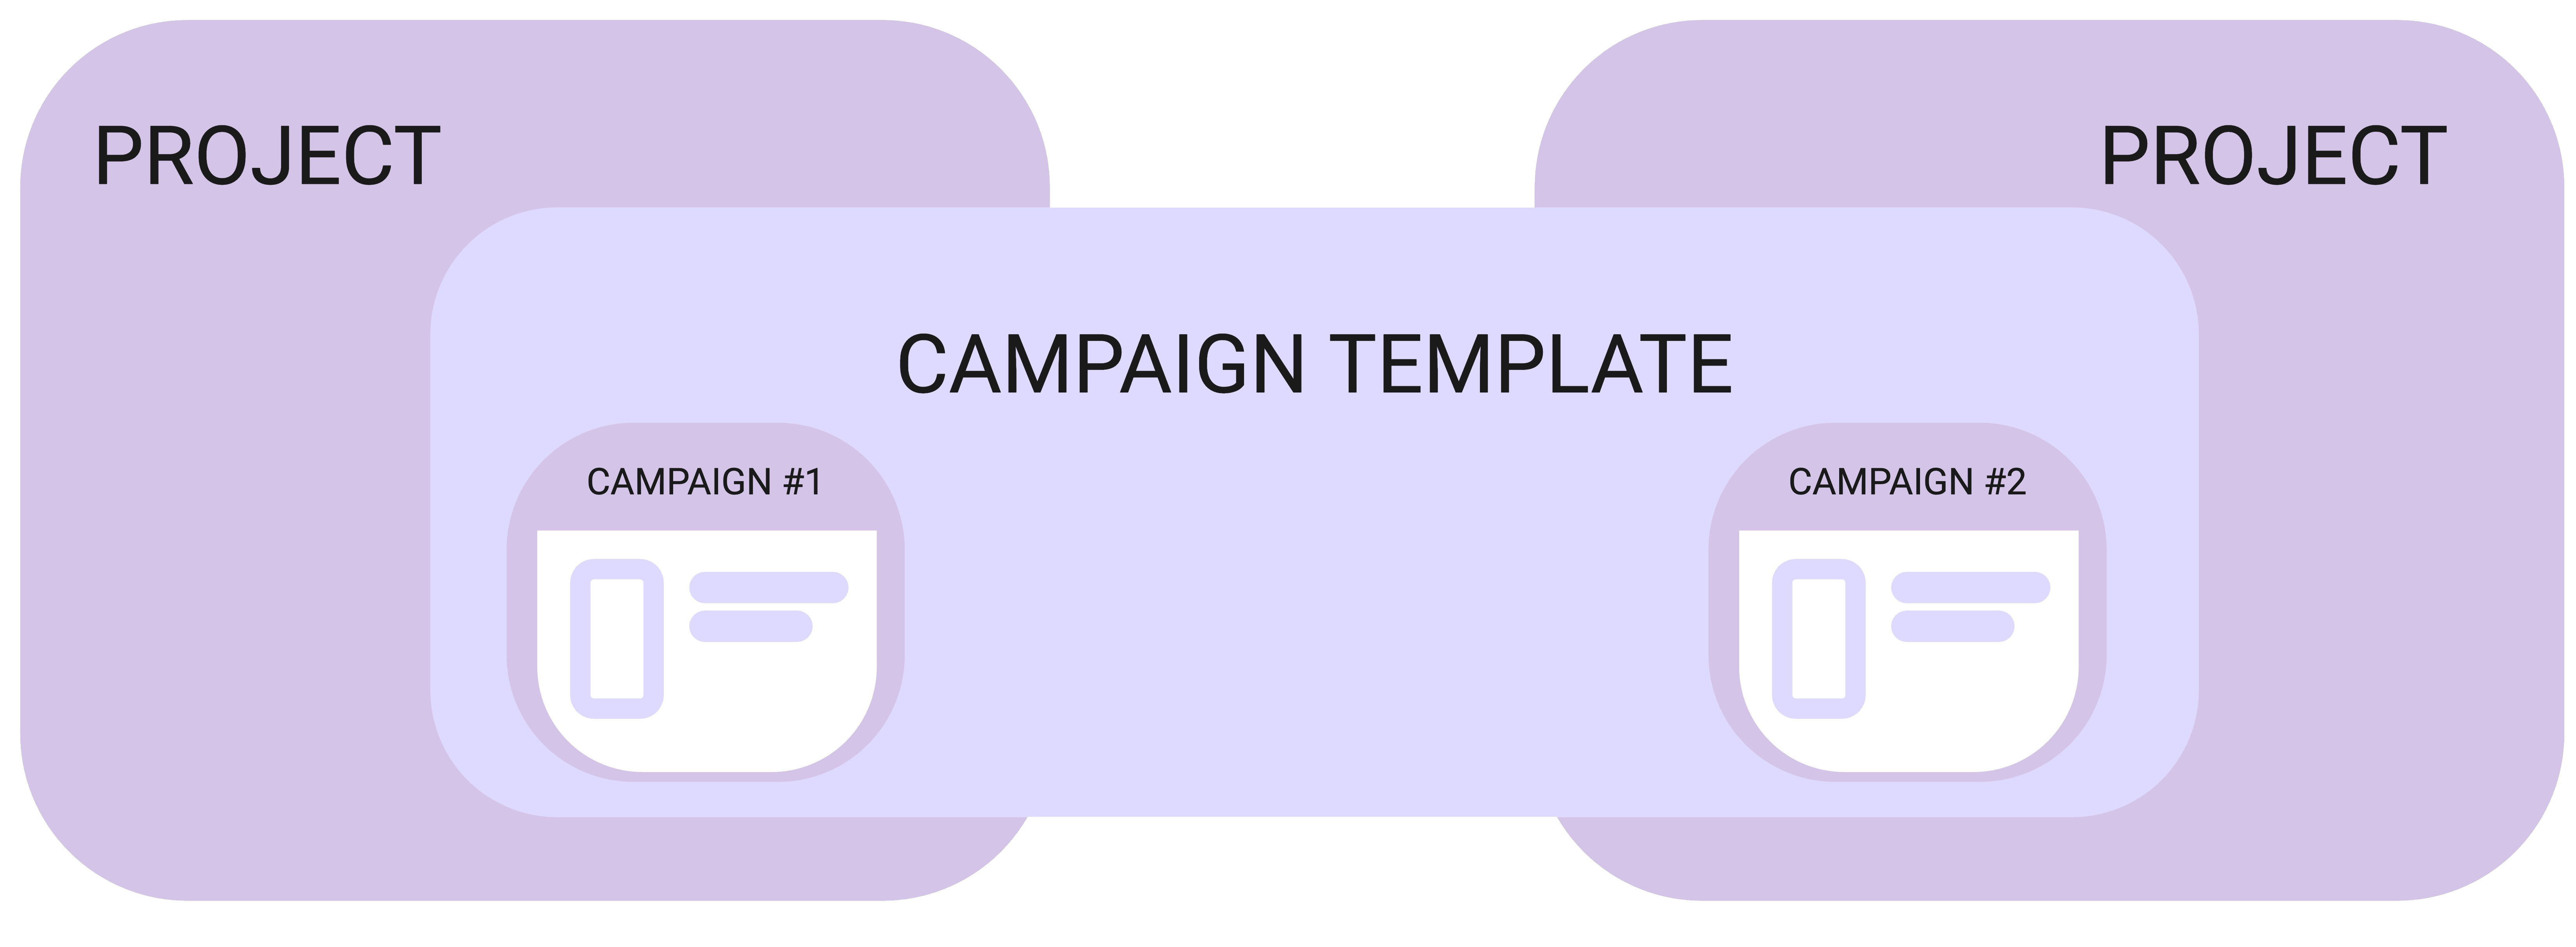
As you can see in the image below, when campaigns are created they will belong to a project, but different campaigns can be based on the same campaign template.
Navigation
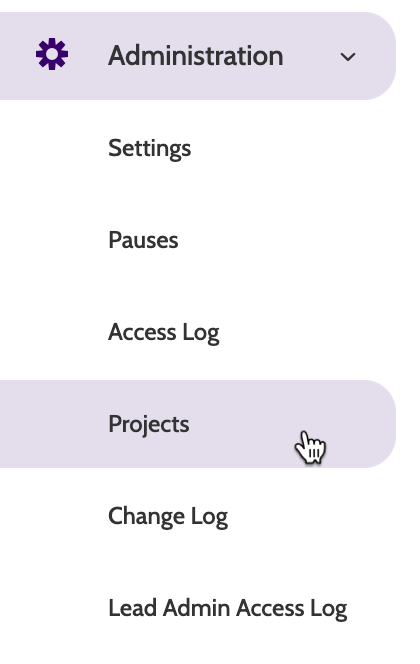
Projects can be found under the Administration menu.
In the navigation page you will see a list of all current projects in your organisation.

Creating a project
Click + Create New Project to begin.
The edit options will be the same for both editing and creating projects.
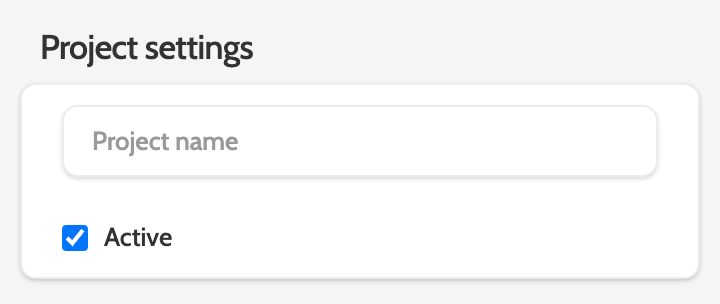
Project settings
Under Project settings, add a name, and check the active box to mark it as Active.
Sensitive data types
Under Select sensitive data types, choose while campaign data types should be treated as sensitive.
Sensitive data will be deleted after a set period of time, configured below under Define automatic Lead data deletion rules.
Check the boxes next to the data type to set them as sensitive.
Switch to the Sensitive tab to view all the data types already set to sensitive, and to the Standard tab to view data types that aren't subject to deletion rules.

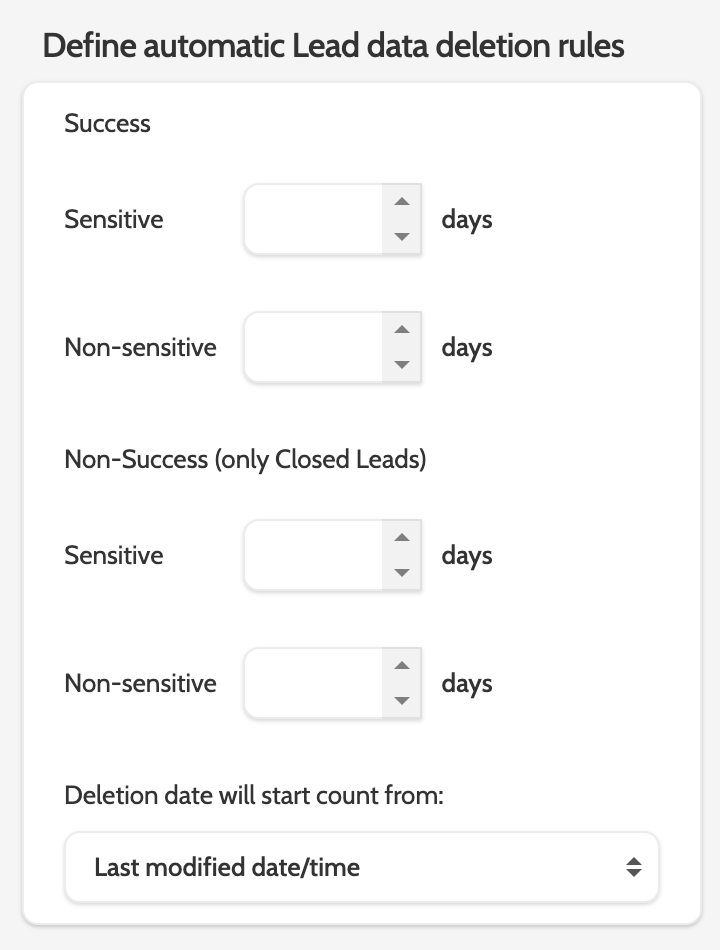
Define automatic lead data deletion rules
Under Define automatic Lead data deletion rules, define how long data should be stored before being deleted.
How do I delete lead data?
If you want to make sure that lead data is deleted from campaigns you need to do two things:
- In Campaign Settings under Dialer Settings - Leads Expiration, set the number of days after the upload date that the Lead will expire. An expired lead will be given the Closed status ‘Expired’, which automatically subjects it to the lead deletion rules that are set up in the project settings.
- In Project Settings under Define automatic lead data deletion rules, set the number of days that lead data will be saved before being permanently deleted. These rules will apply to all Campaigns within this Project.
Please note that deletion of data is permanent, and cannot be restored.
Deletion rules are divided between leads closed as a Success and Non-success, and Sensitive and Non-sensitive data types.
To delete data, enter the number of days in the data type field, and select the method of counting the days.
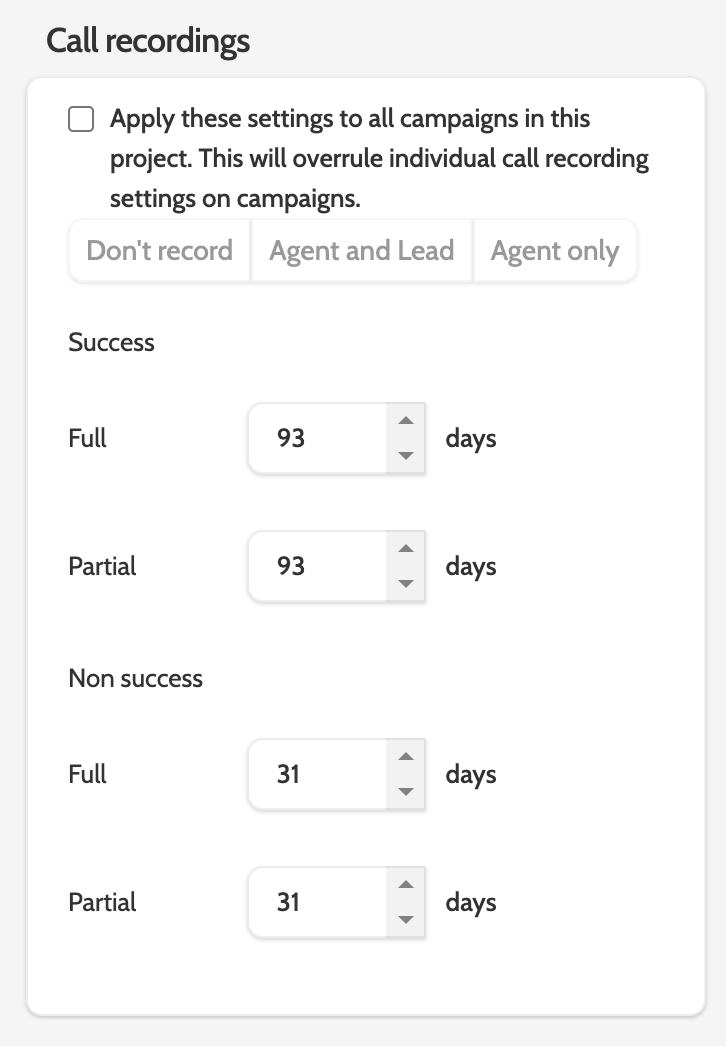
Call recordings
Under Call recordings, configure how many days call recordings are kept for in Outbound before being automatically deleted.
What counts as a Success?
A call is considered a Success when the lead has been user-processed and closed as a Success, either on the contact page or elsewhere, such as in Quality Assurance, or as part of a Trigger.
This means that all recordings linked to these leads will follow the Success retention rules.
Deletion for Successes is based on the time of the call, and not the time the lead was user-processed.
Enter the number of days to store each call type.
Call Recording expirations can be set in three places:
- Projects
- Campaign settings
- Corporate settings, configured by your Customer Success Manager
Project settings overrules campaign and corporate settings.
👉 If project settings and campaign settings are not set, then corporate settings will be used.
👉 If number of days for storing call recording in campaign settings is higher than in projects, then project settings will overrule campaign settings.
👉 If number of days for storing call recording in campaign settings is lower than in projects, then campaign settings will overrule project settings.
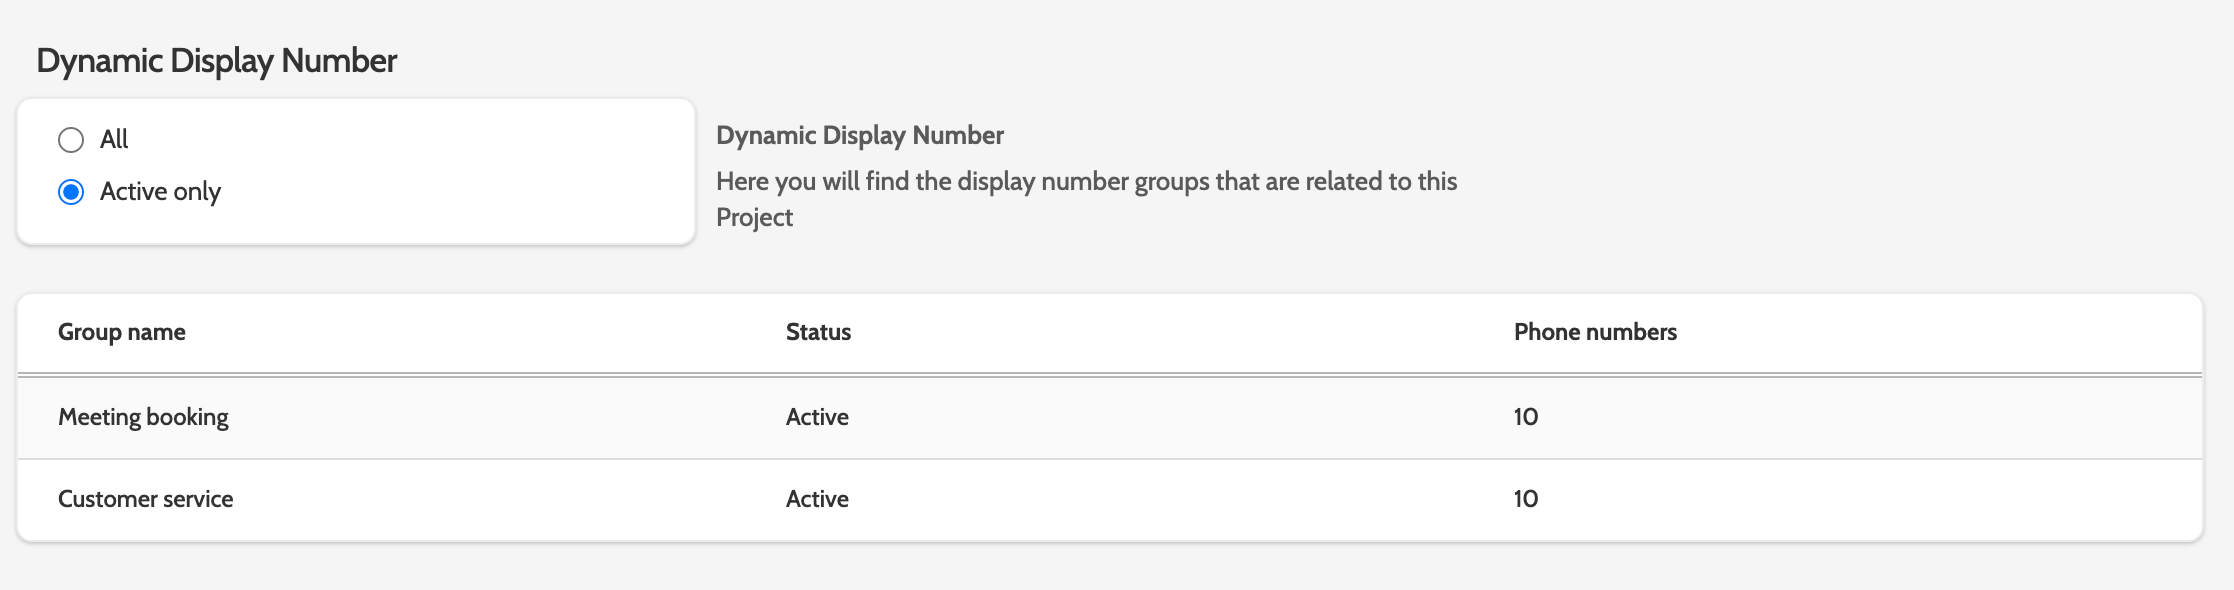
Dynamic display number
Under Dynamic Display Number, you can view which groups of dynamic display numbers to use in campaigns.
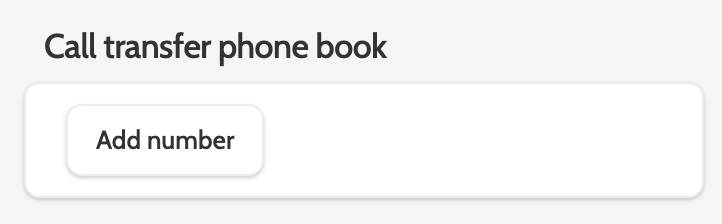
Call transfer phone book
Under Call transfer phone book, add numbers that can be used when transferring calls.
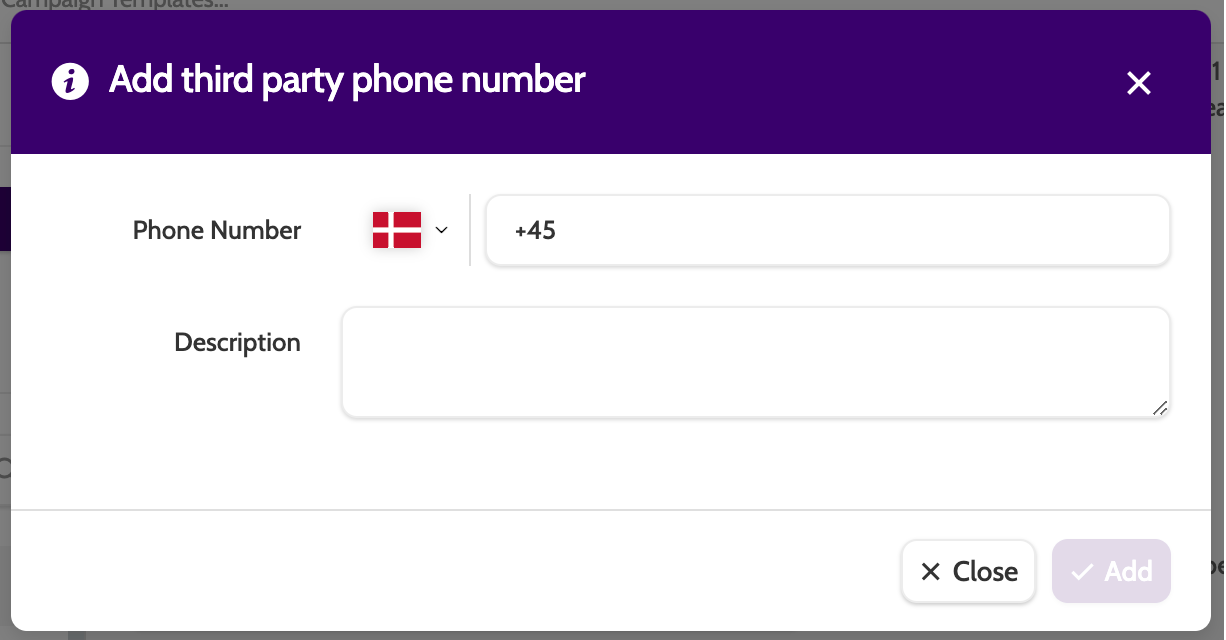
Click Add number to get started.
Enter the phone number, and add a description that will be used internally.
Click Add to save the number to the phone book.
When you have made changes to your project click Save.