
Flows: Administration User Management
With User Management you can create and edit users, and manage their feature permissions.
Navigation page
User Management can be found by clicking Administration in the side menu.
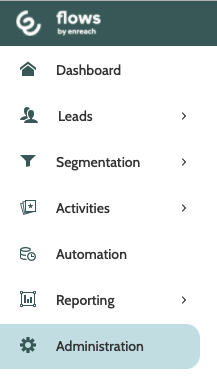
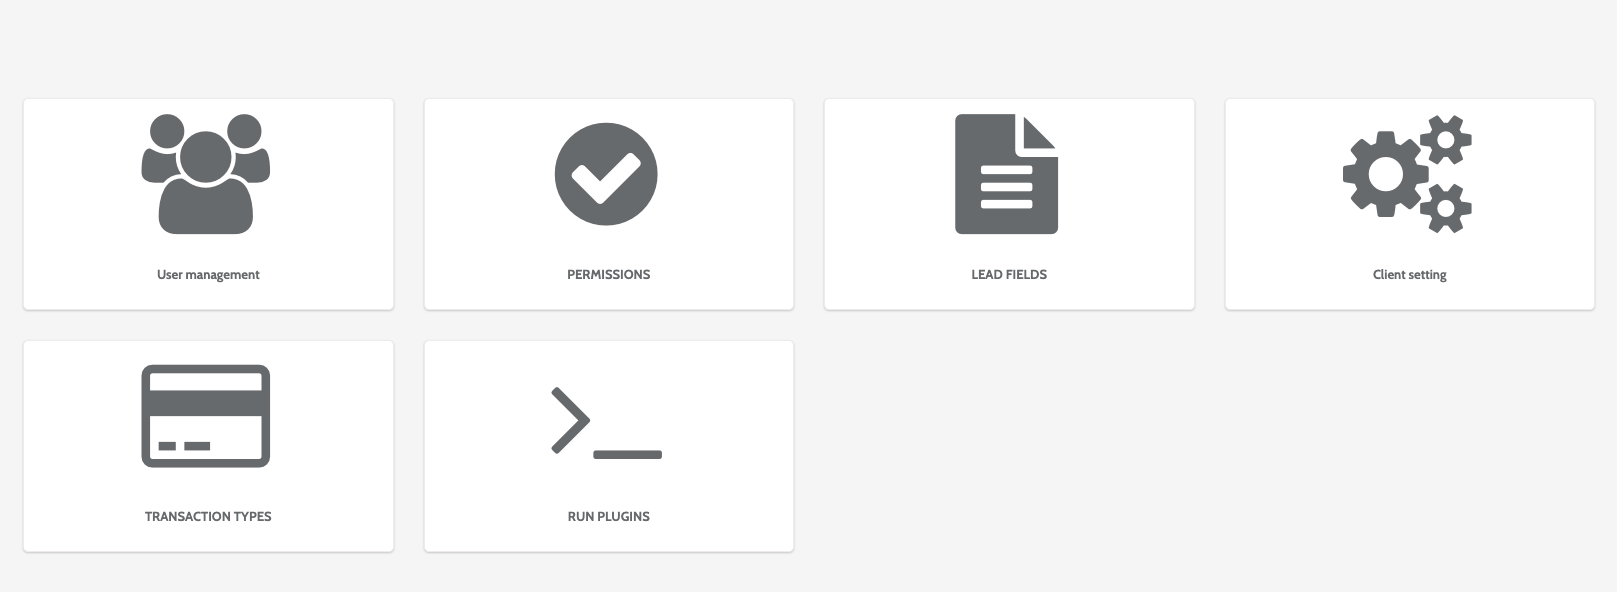
In the Administration home page, click User management.
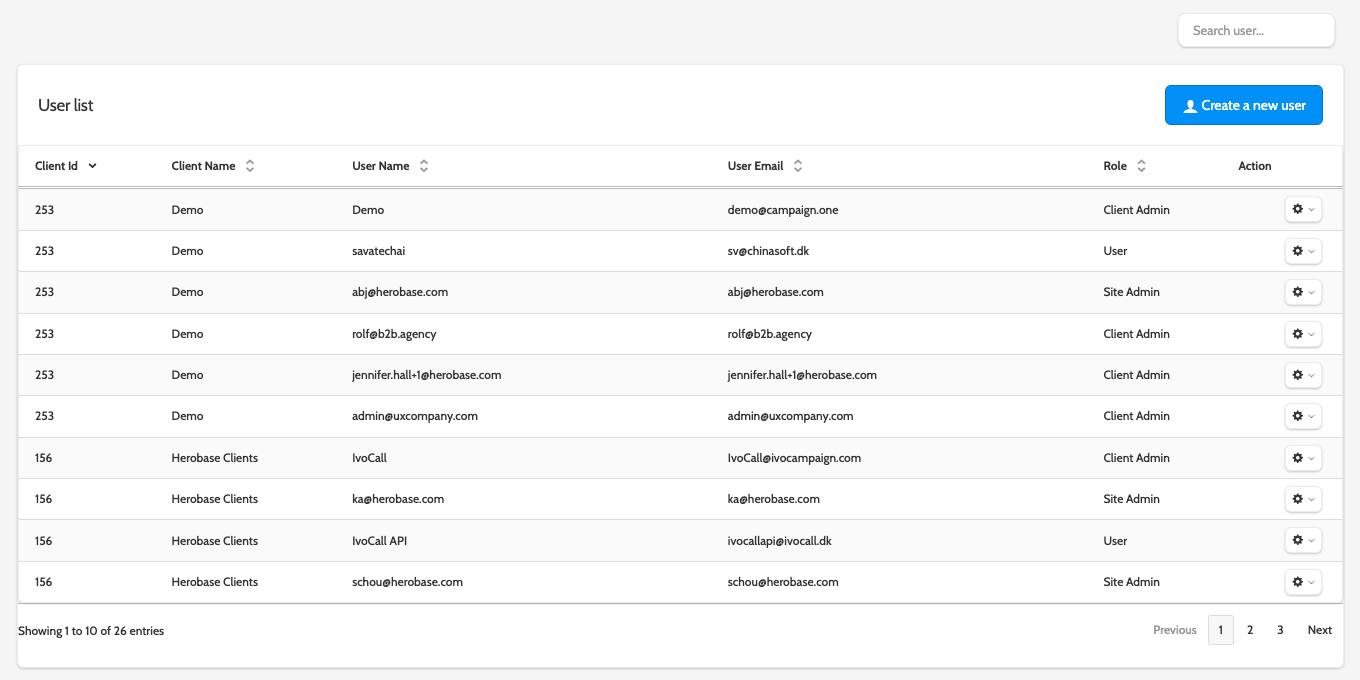
In the navigation page, you can view all users registered in Flows, including which client they are registered with, and their user role.
To work with an existing user, click the cog to the right of their name, and click Edit user or Delete user.
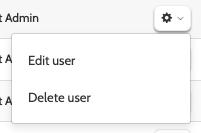
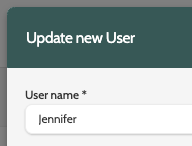
Click Edit user to update the user details in a pop-up window.
The update wizard is the same as the create wizard, so scroll down to read more.
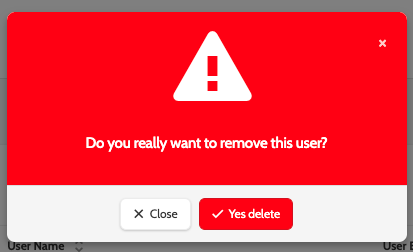
If you want to delete a user, you will be asked to confirm first, as deleted users cannot be recovered.
Create a user
Click Create a new user to begin.

In the pop-up wizard, enter the following information. All mandatory fields are marked with an asterisk:
- User name: enter a user name
- Password: enter a password the user will need to log in to Flows. This can later be changed in user settings
- Confirm Password: re-enter the password
- Email: add an email address
- Phone number (include country code): add a phone number and country code
- Primary Client: expand the menu and select the primary client the user will be created in
- Role: expand the menu to select a user role. Choose between Client Admin, and User
- Accessible Clients: expand the menu and choose which clients the user will be able to access
- Client Pages: under client pages to the right of the wizard, select which areas the user will have access to. Scroll through the list and manually check the pages, or click All Client Page to grant the user total access to Flows
- Edit Lead/Export Lead/Delete Lead: check the boxes to grant the user the rights to edit, export, or delete leads.
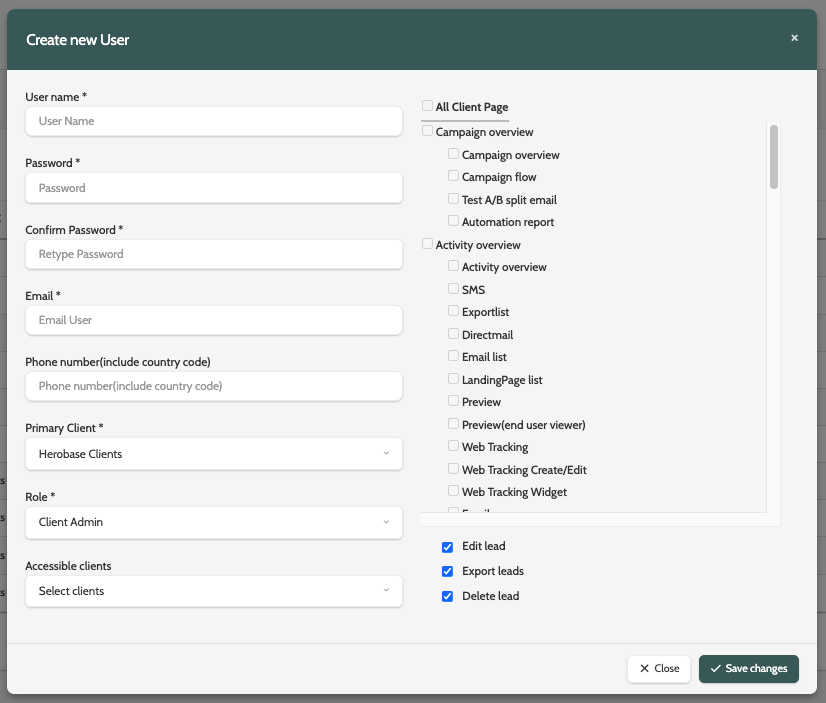
When you are done, click Save changes to create your new user.
