
Leads: Segmentation
With segmentation, filter leads based on a customisable set of rules, grouping leads by agent access, specific lead pools, and shared lead data fields to use in calling.
What is segmentation?
Working with large lead pools can be a challenge, and maybe even affect your agent's chance for success.
With segmentation you can filter your leads based on a customisable set of rules, grouping Leads by agent access, specific lead pools, and shared lead data fields.
Thinking about who you want to target in a session, and why, sets your agents up for success from the get-go. Segmentation allows you to work smarter, not harder, every time you log in!
What type of segments can I make?
The segment builder in Outbound is versatile and totally customisable, allowing you to create segments for whatever business needs your organisation has. Consider the following examples, and get creative with segments:
- Segment leads by postal codes from 4000 to 5999, who live in apartment buildings
- Segment leads that have pets, but haven't yet purchased pet insurance
- Segment leads that live in Copenhagen who have an Open call status

Create a segment group
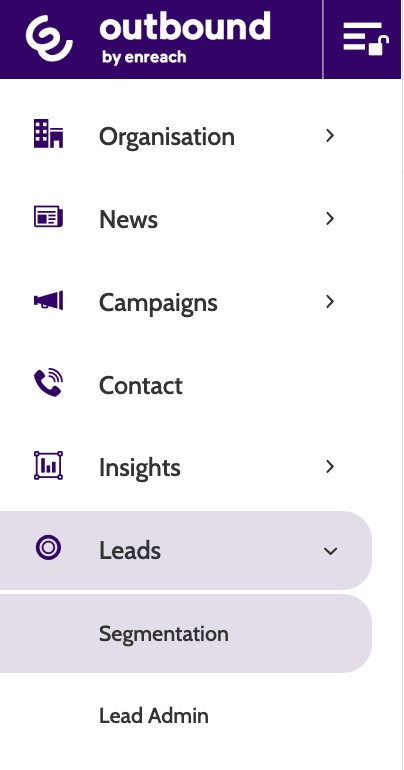
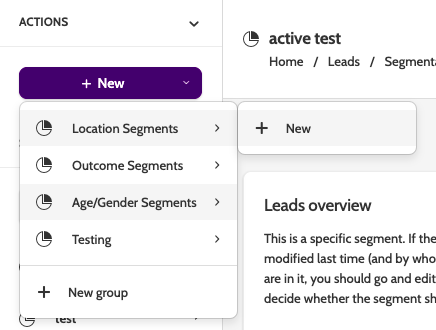
To access segmentation, expand the Leads drop-down menu and select Segmentation.
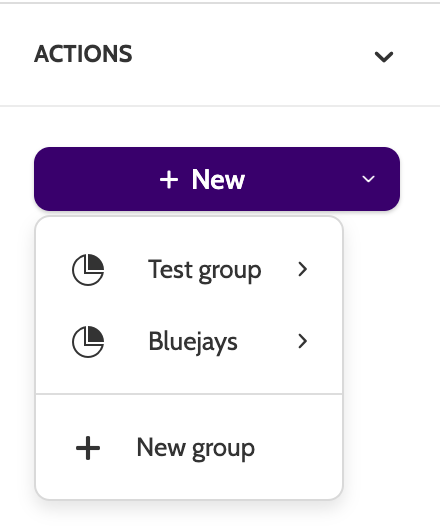
In the navigation page you will see two drop-down menus: Actions and Segmentations.
In actions, click New to create a Segment Group, a container for similar segments that will make it easy to organise any segments you make.
Existing segment groups and segments will be displayed under Segmentations.
To create a segment group, click + New, or expand the + New drop-down menu to the right of the navigation page and select + New Group.
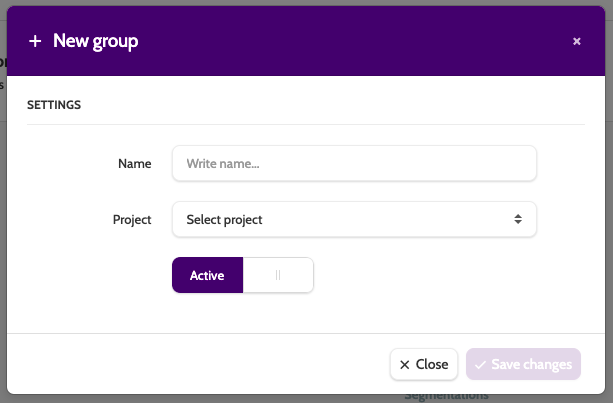
In the New group pop-up, enter a name and select which project it should belong to.
Toggle between Active and Inactive to set the status.
Click Save Changes to save the segment group.
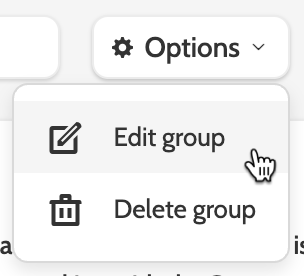
After a segment group is created, expand the Options menu to edit or delete the group.
Create a segment
There are several ways to create a new segment:
Expand the New menu, hover over your segment group and click New.
Alternatively, when in a segment group, click + New.

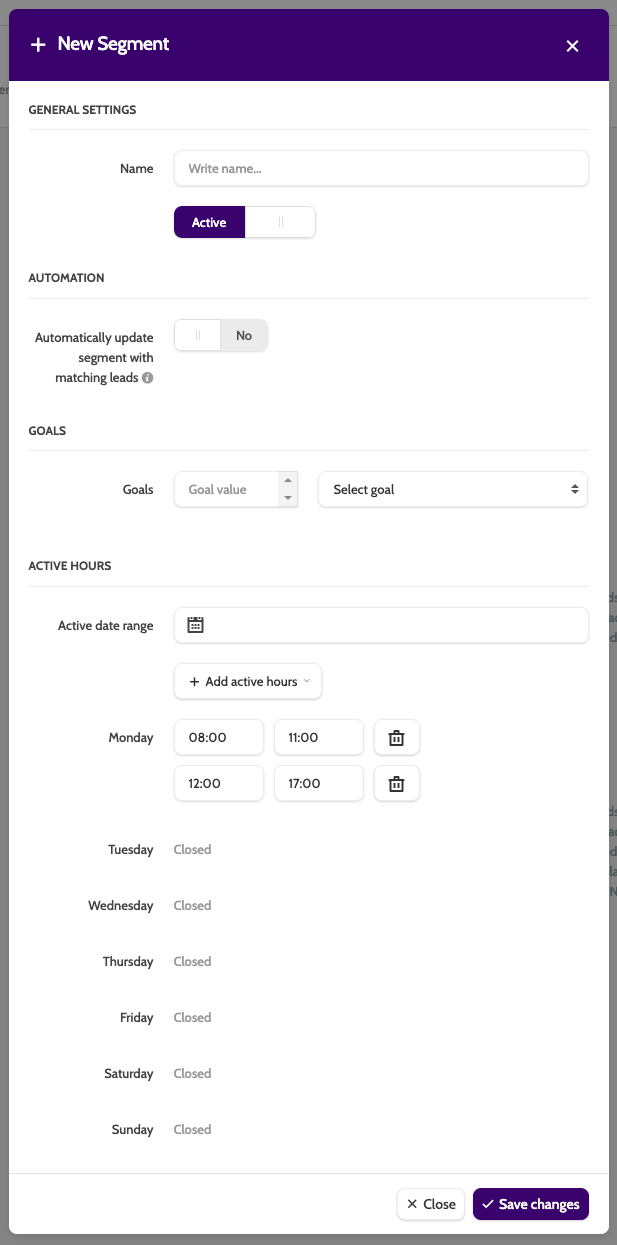
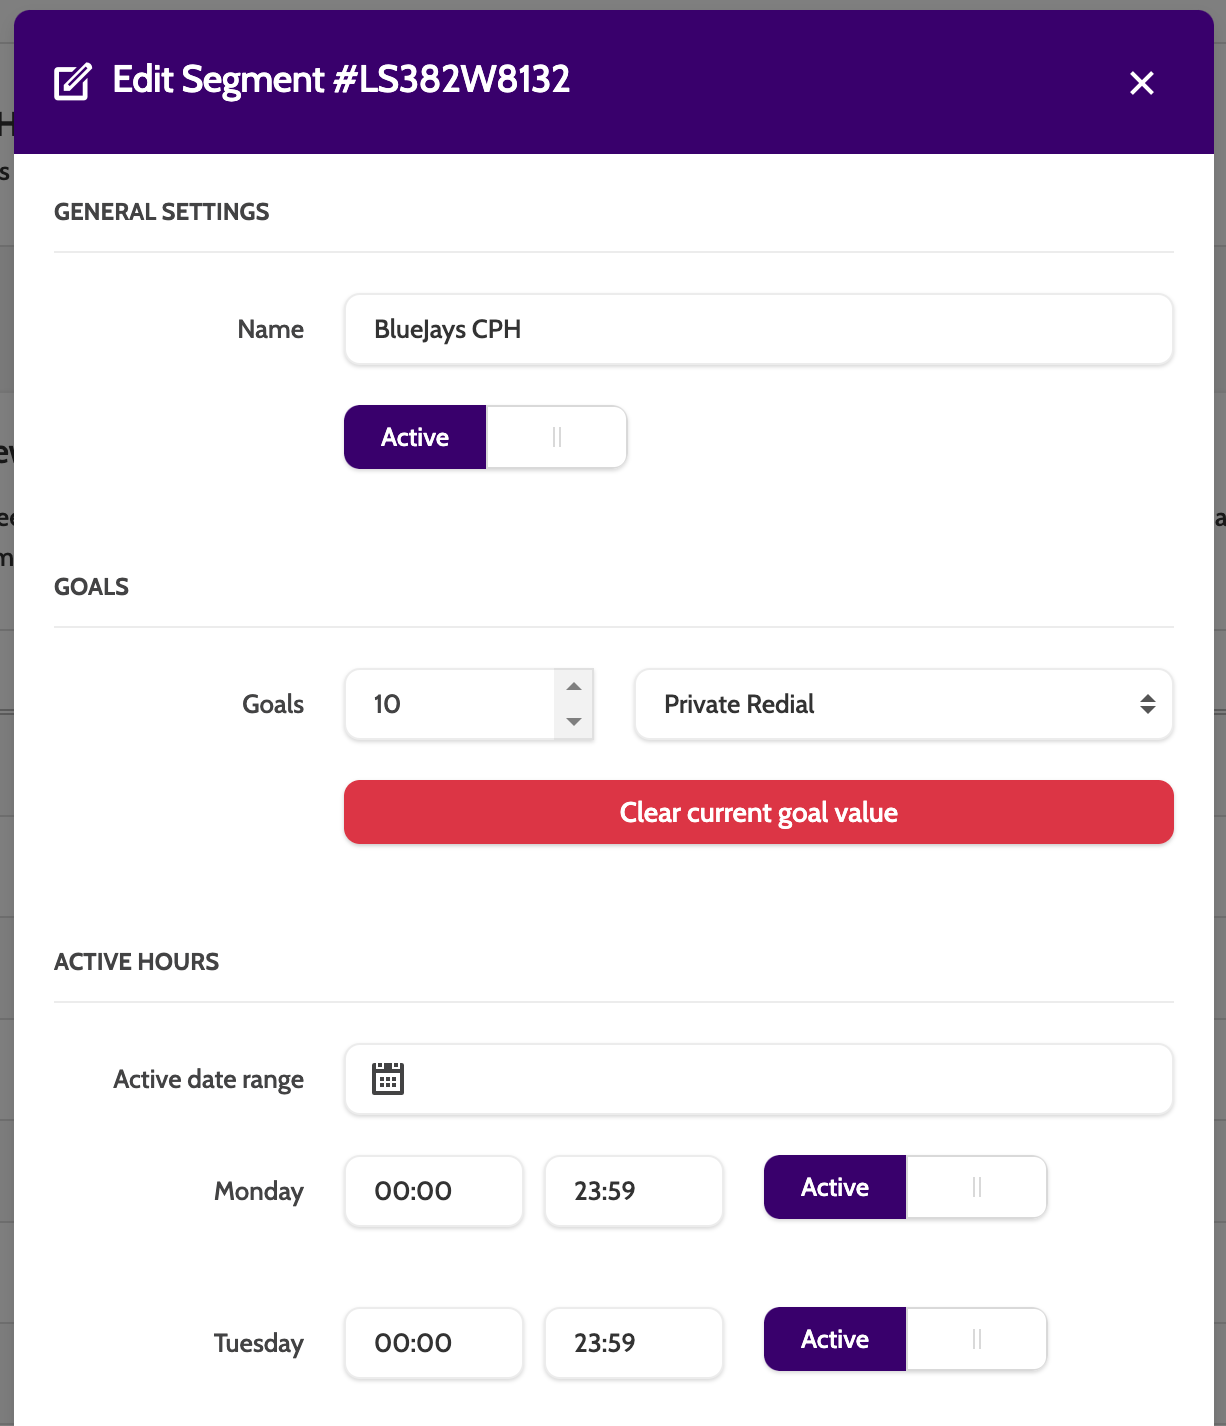
In the segment builder, enter some basic details:
- Name: enter a name for your segment
- Active/Inactive: toggle to set the segment's status
- Automation: toggle to automatically include new leads to the segment if they meet the criteria
- Goals: an optional setting. If the leads in the segment reach the goal set here, then the segment will become inactive
- Active Date Range: click the calendar icon to manually set a start and end date for the segment. You can also set active times according to weekday, and control when the segment can be called. Click Add active hours to set multiple active times for the same day.
Segments must have active opening hours applied, or they can't be used in a campaign!
Please note that the Segment Opening Hours settings do not apply to campaign settings. So, if the segment is inactive on Monday, but the campaign from where the leads are filtered is active on Monday, then leads in this segment can be called on Monday.
Campaign Settings will override Segment Opening Hours!
Click Save Changes to save your segment settings.
Filter rules
Once you have created your segment, it's time to configure the filter rules.
These will determine how who has segment access, which lead pools it will filter from, and which lead data fields will be used to filter out all the relevant leads to be called.
Click the Options menu, and select Edit filter rules.
In the top menu you will see a number of filter options that will determine how the Segment will work:
- Campaigns/Lead pools: choose which campaigns and lead pools the segment should work with.
- Teams & Users: select who should have access to working with the segment
- Field Data: choose which campaign data fields the segment should filter by. In the image below, the City data field has been chosen, the condition has been set to equals, and the result is Copenhagen. This means that the Segment will filter all leads in the chosen campaigns and lead pools that have Copenhagen in their City data field
Click + Add Rule to add the filter, and repeat as necessary.
If using more than one rule, toggle between AND and OR to determine how the filters will work together.
For example, adding another rule with the data field of City, the condition set to equals, the result of Aarhus, and the switch toggled to OR, will filter out all leads in Copenhagen or Aarhus.
- Status/Results: choose between different types of lead statuses and results the segment will filter by
- Date: click on the calendar to select from a pre-determined date range, or manually set a custom date range the segment will filter by. The filter will look at the last changed date for leads.
- Search: when you have configured the settings, click Search to apply them.

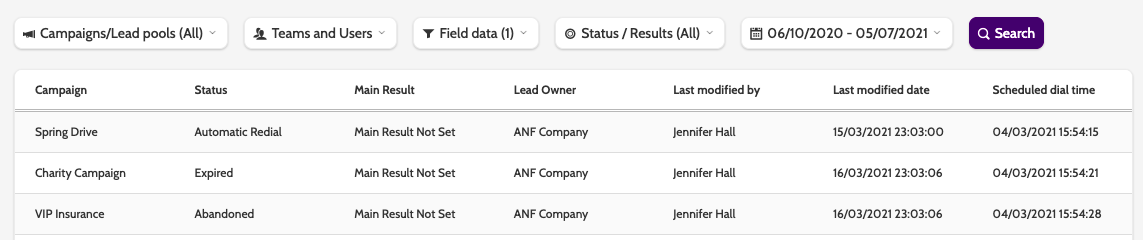
After clicking search, you can preview the leads in the segment, along with some lead data.
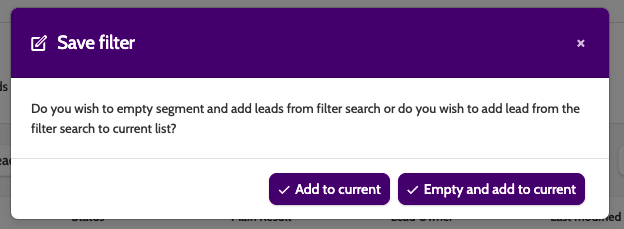
To save the Segment filters, click Save Filter in the bottom of the page.
Before you can save the filter you need to decide how the leads will be saved to the segment:
- Add to current will add the leads found to the segment. If you are updating the filter rules on an existing segment, then this option will simply add the new leads to the existing leads
- Empty and add to current will remove existing leads in the segment, and add the news ones found with the filter rules.
Editing and maintaining segments
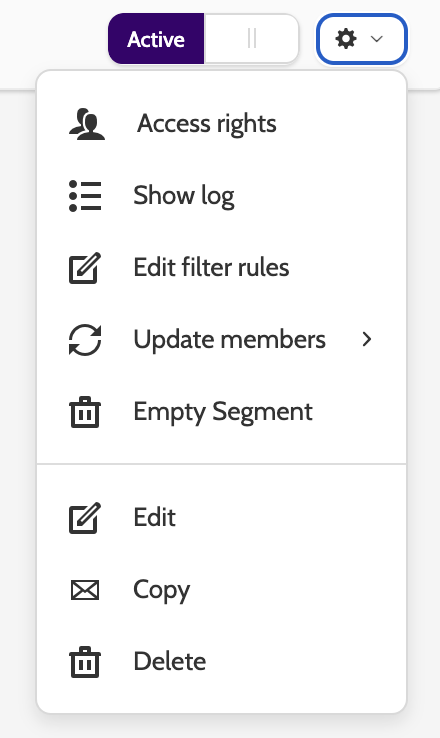
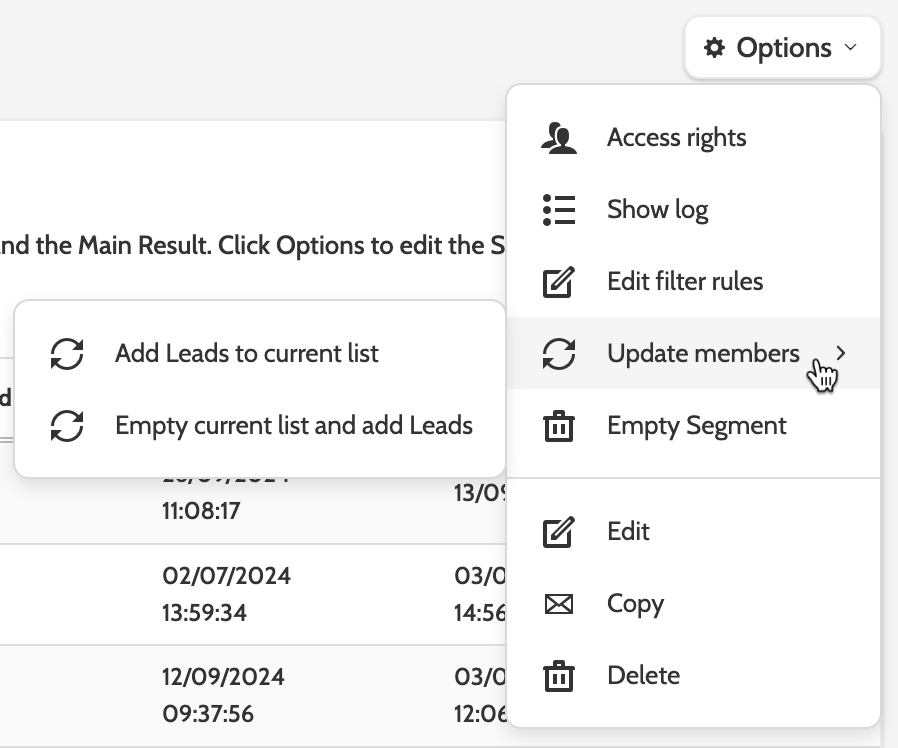
To edit an existing segment, select it from the segment group and click Options to open the menu.
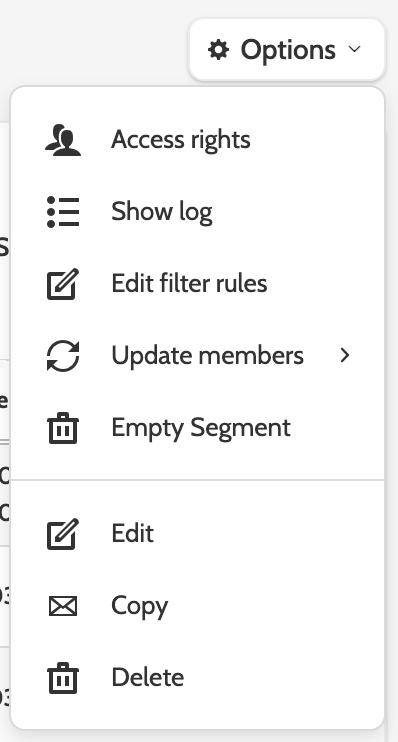
There are several options when editing an existing Segment:
- Access rights
- Show log
- Edit filter rules
- Update members
- Empty Segment
- Edit, Copy, and Delete
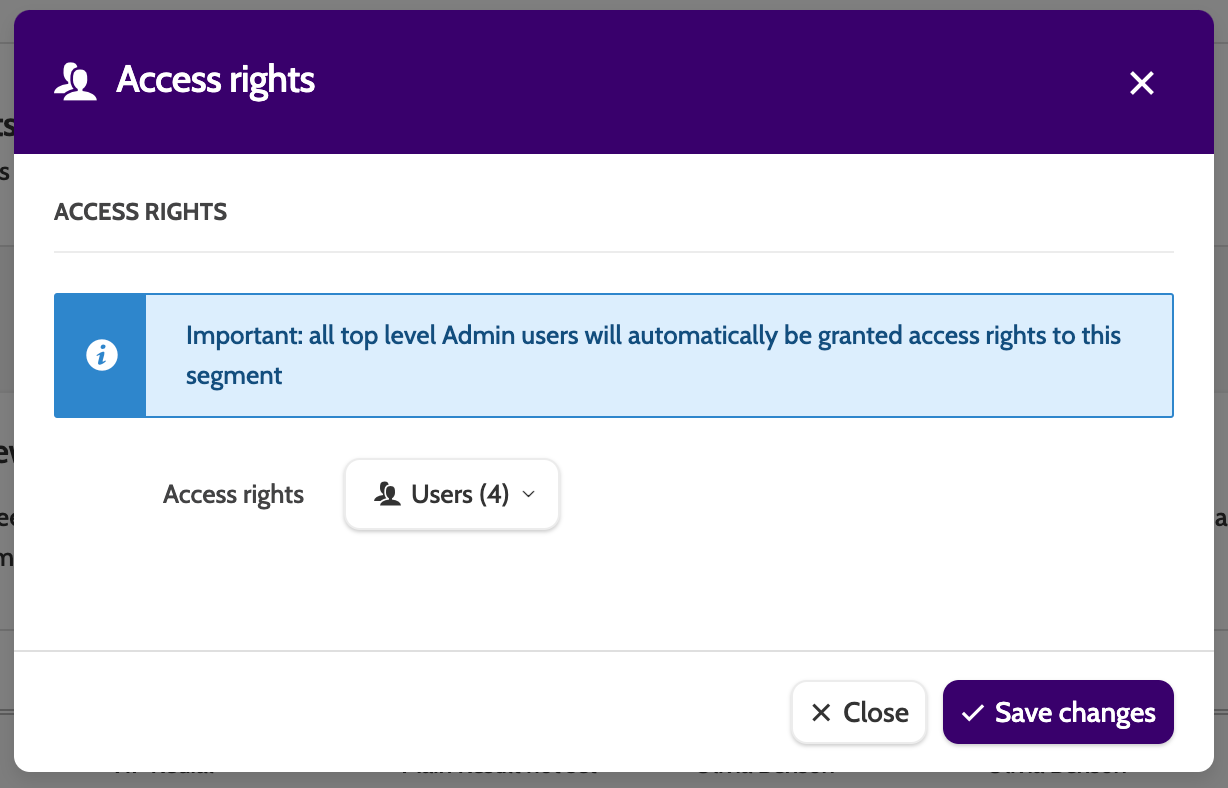
Access rights
Access rights allows you to select which teams or users have access to working with the segment.
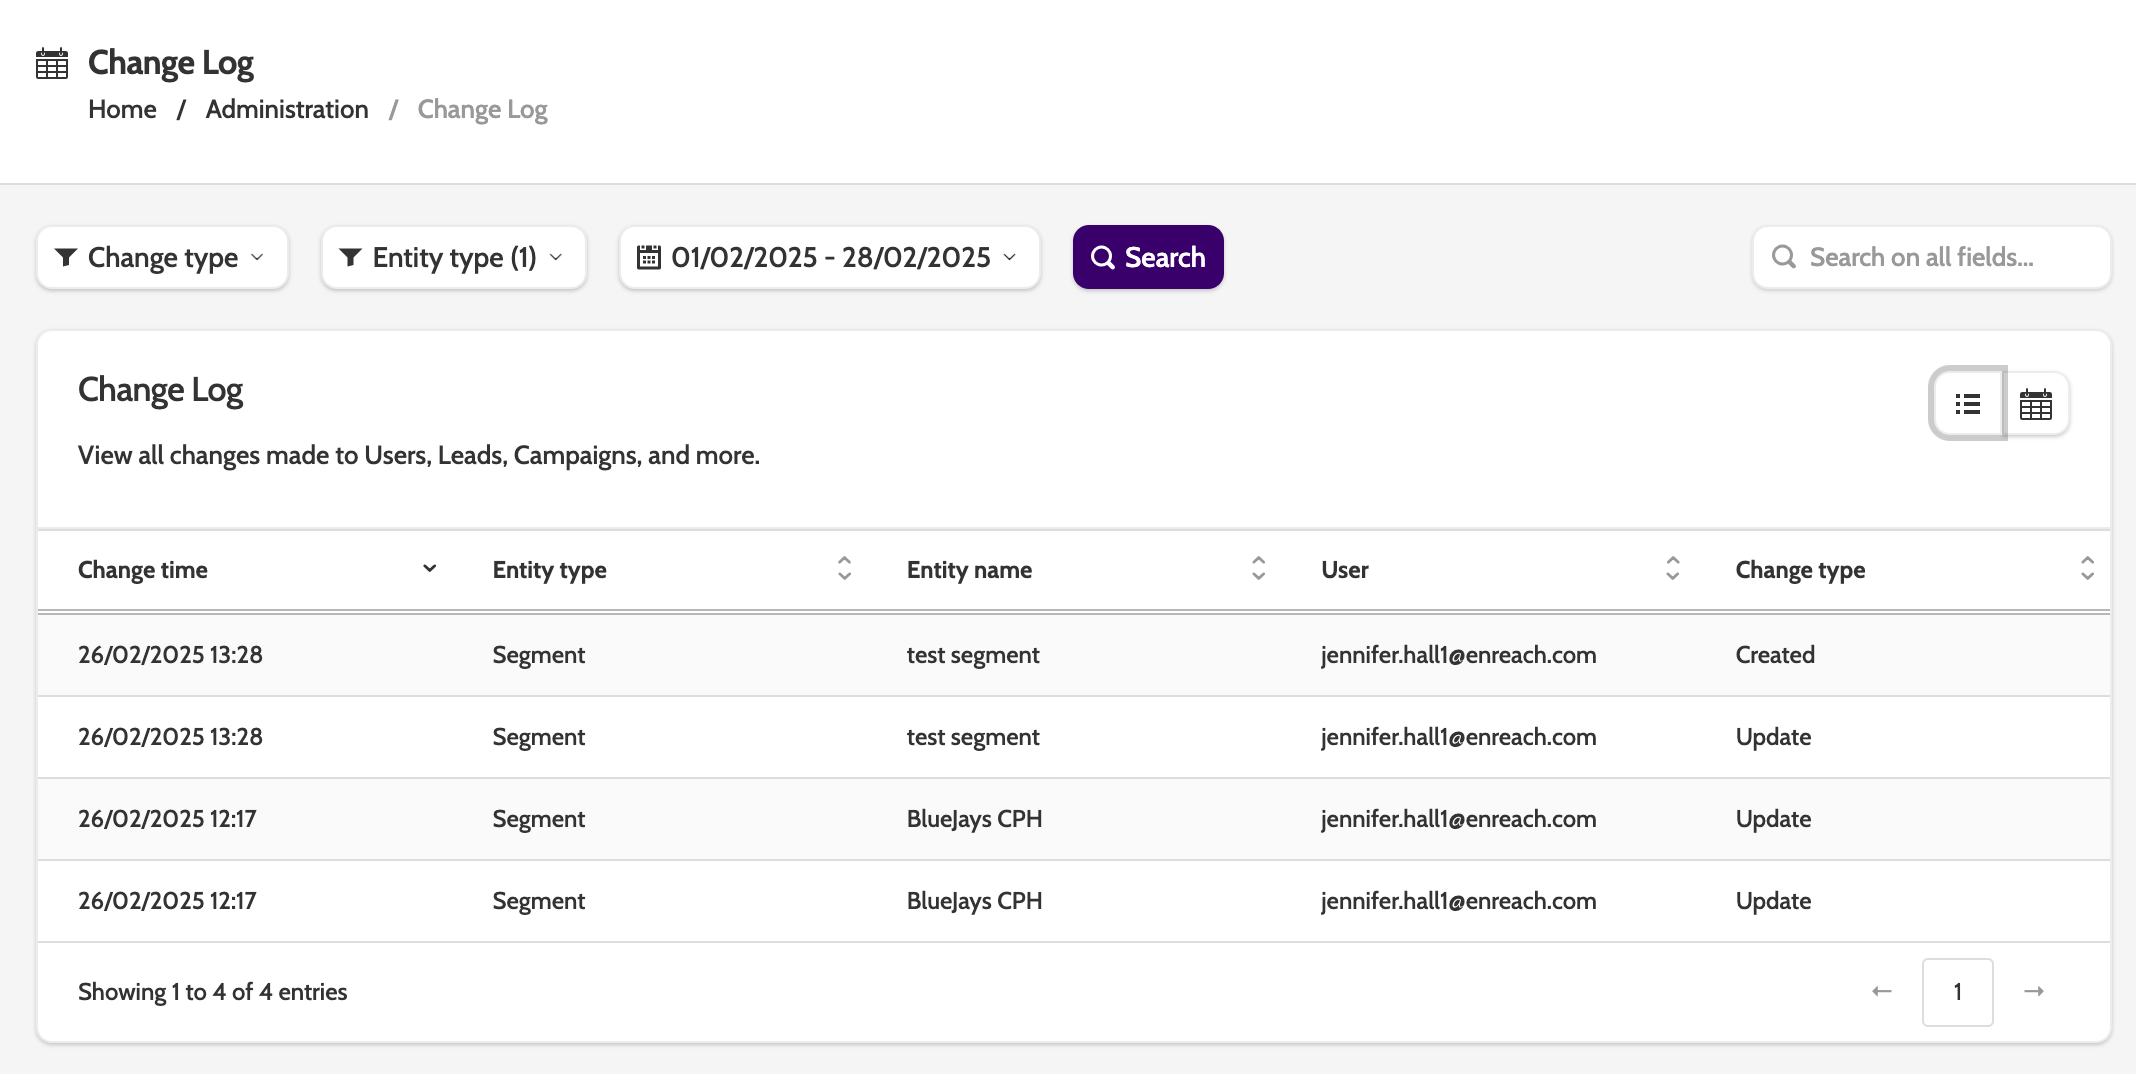
Show log
To view a complete list of edits made to the segment, click Show Log to view the segment change log.
Access to the change log depends on the following feature permission, granted in Manage Organisation:

Edit filter rules
Select Edit Filter Rules to access the filter options.

Update members
Select Update Members to manage how to update the leads in the segment: these options are the same as when initially configuring the Filter Rules:
- Add Leads to current list will add the leads found to the segment. If you are updating the filter rules on an existing segment, then this option will simply add the new leads to the existing leads
- Empty current list and add Leads will remove existing leads in the segment, and add the news ones found with the Filter Rules.
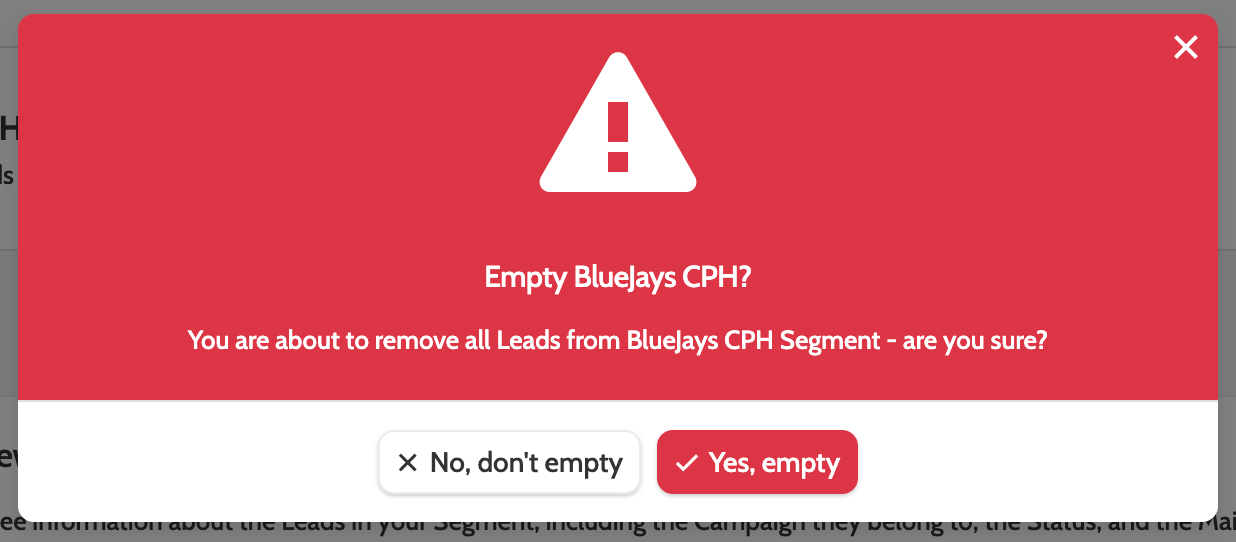
Empty segment
To remove all leads from the segment, click Empty Segment.
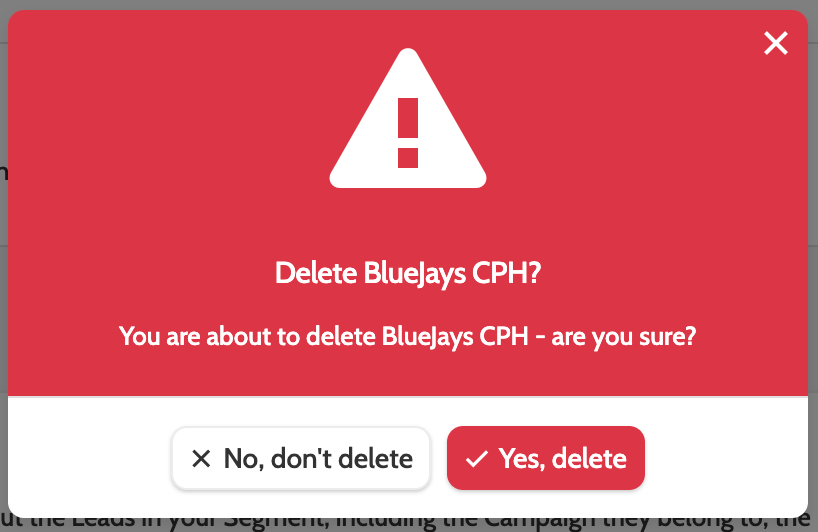
You will be asked to confirm before continuing, as this action cannot be undone.
Edit, copy, and delete
Click Edit Segment to adjust the general settings, goals, and opening hours.
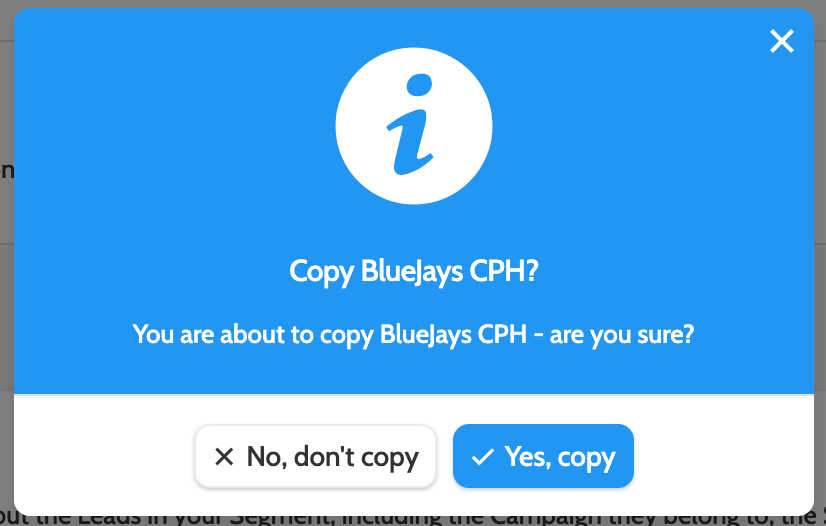
Click Copy to create a duplicate.
Please note that the copied segment will have the same settings as the original, so make sure to adjust the Filter Rules of the copied segment, as leads can only belong to one segment!
You will be asked to confirm before continuing.
To delete a segment, click Delete.
Removing leads from a segment
To remove a lead from a segment, click the cog to the right of the lead, and click Remove from Segment.

Working with segments
To begin working with segments, agents will need to have the following feature permission.

Agents with this permission and segment access will now have the option to call segments on the contact page.
In this image below, the agent has chosen to select segments on the campaign selection page, and call leads in the Copenhagen segment. When dialling, the agent will only be connected to leads in the Copenhagen segment.
