Flows: PDF Contract
Upload your own PDF Contracts and completely customise them with lead data, options for signing, and more.
Please note that before you begin, you will need to have an existing PDF Contract ready to upload to Flows.
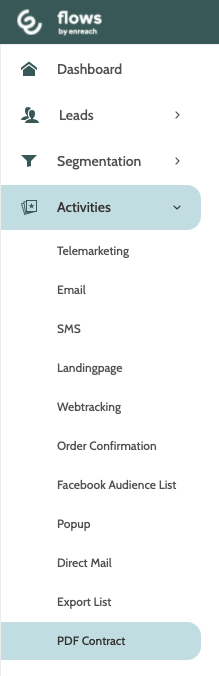
PDF Contract can be found under the Activities menu.
In the navigation page you can see a list of all existing PDF Contracts, including the date they were created and updated.
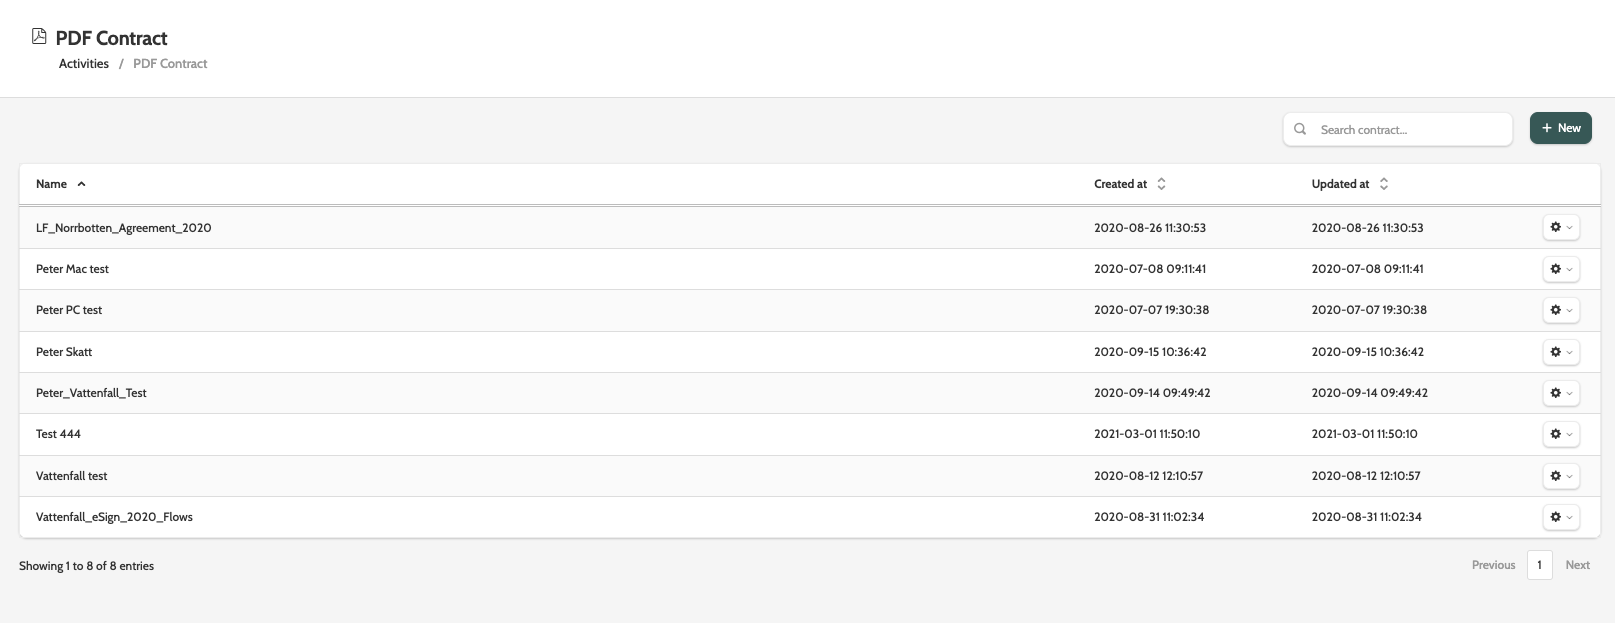
Search for specific PDF Contracts, or click + New to create a new one.

Click the cog to the right to expand a list of options.
Choose between Delete, Preview, and Signed list. 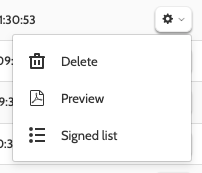
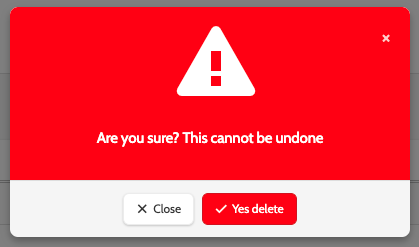
Delete
If you want to delete a PDF contract, you will be asked to confirm first as deleted PDF contracts cannot be recovered.
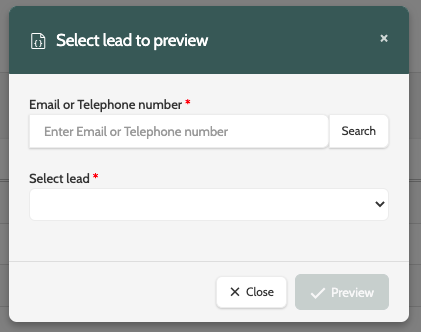
Preview
To preview your PDF contract with lead information, first enter the email address or telephone number of the lead, and click Search.
Expand the Select Lead menu and choose the correct Lead.
To preview the PDF Contract with the lead's information in the relevant contract fields, click Preview.
Your preview will open in a new window.
Signed list
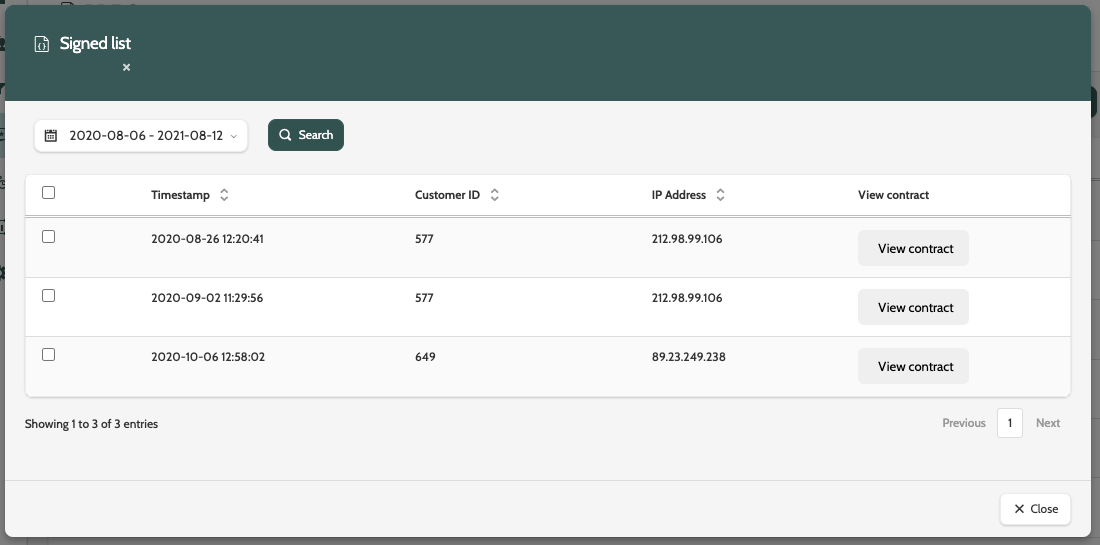
Signed list will display details of all leads who signed the PDF contract within a certain timeframe, including the Timestamp, Customer ID, and IP Address.
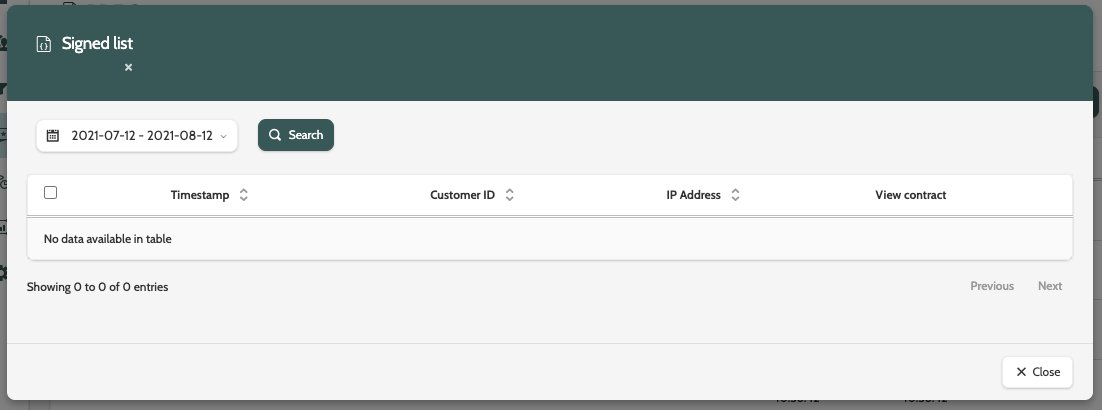
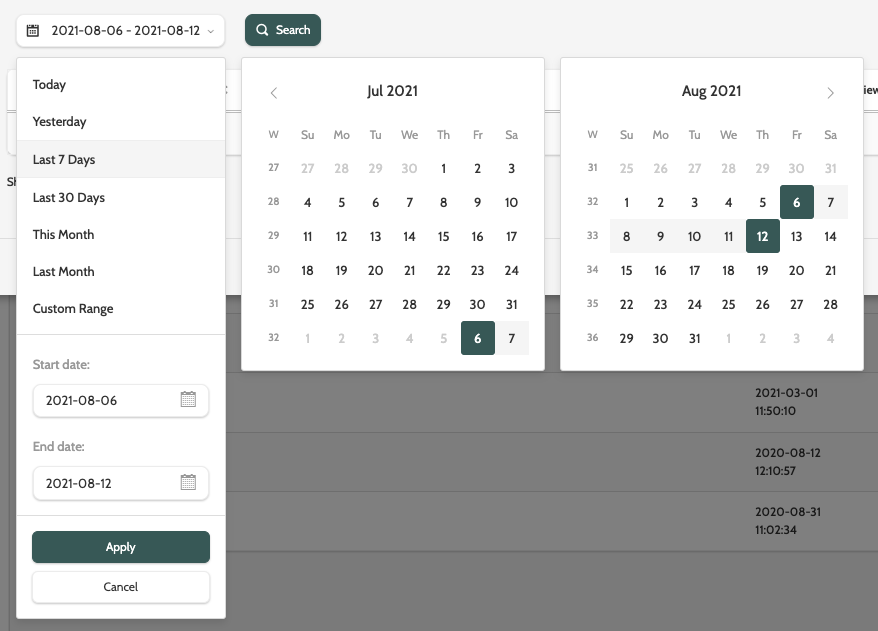
Click on the calendar icon to select from a range of dates, or set your own customer parameters.
Click Apply, and then Search when done.
All leads who signed the contract in your chosen time frame will be displayed.
Click View contract to download a copy of the PDF contract to your desktop.
Create a new PDF contract
To create a new PDF contract, click + New in the top right of the navigation page.

You will need to have an existing PDF file to upload that you can customise.
Click Upload PDF to start.

When you have uploaded your PDF, it will look something like the image below.
To the left of the screen is a scrollable view of all the PDF pages. This scrollable view is only available on large PC screens: it will not be displayed on a laptop unless you decrease the screen display size.
In the center is the canvas, a full view of the PDF and where you will drag the Mergefields.
To the right of the screen are all the Mergefields and Settings to fully customise your PDF contract.
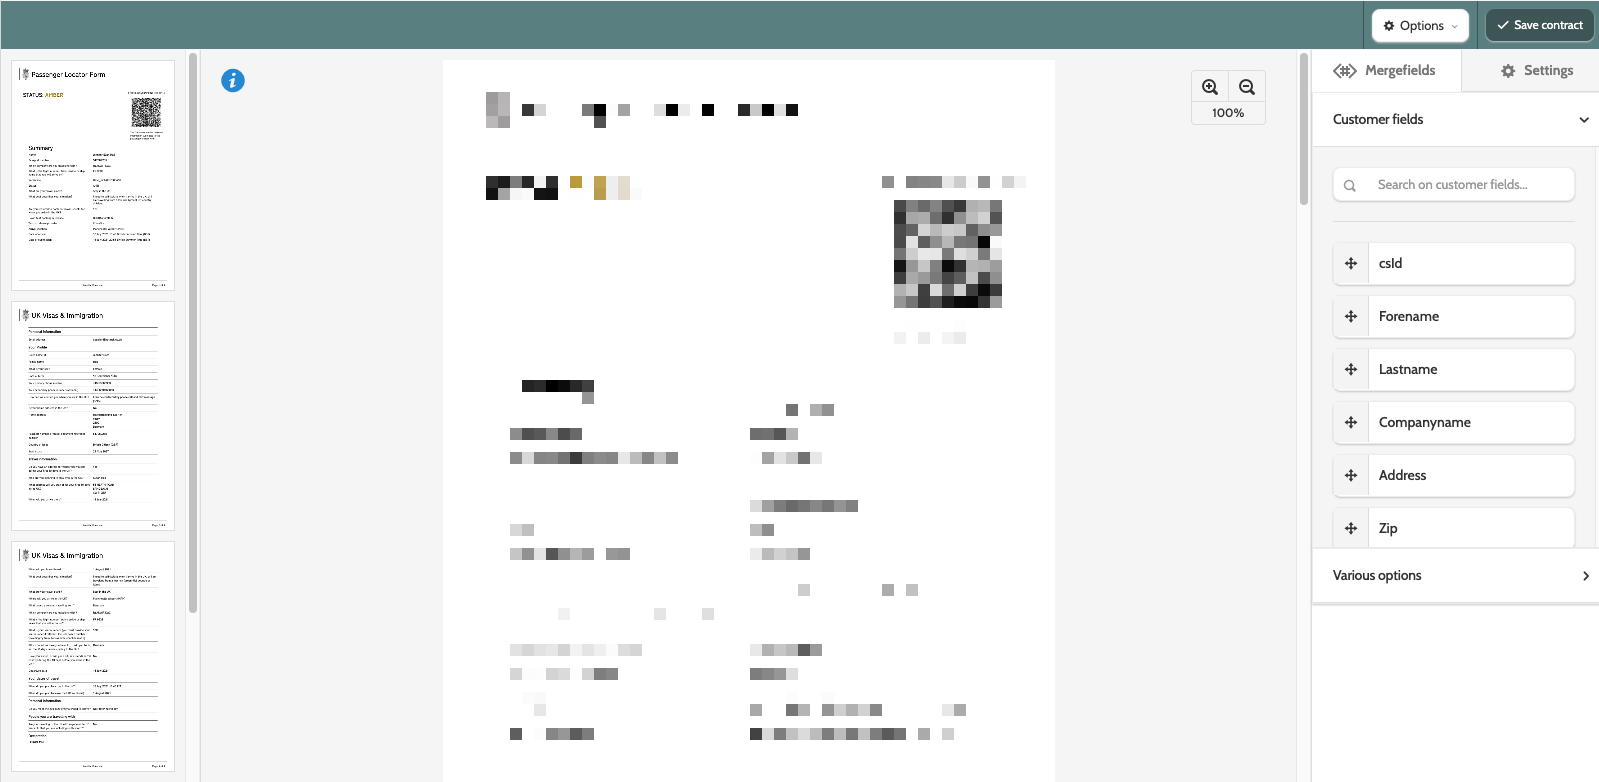
Increase or decrease the size using the magnifying glass icons.

Mergefields and settings
To the right of the canvas are Mergefields and Settings, allowing you to insert lead fields into the PDF contract, and to adjust the general settings of the contract.
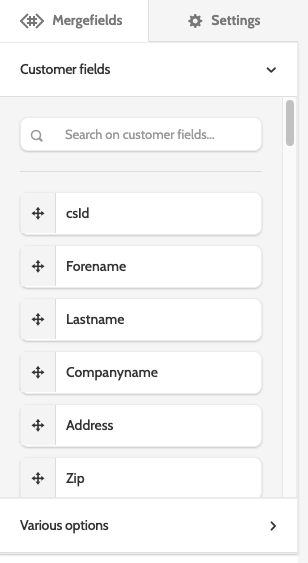
Customer fields
Under Mergefields, the first set of options are Customer fields.
Expand the menu and start dragging the mergefield into the contract.
Flows will then replace each mergefield with the lead data of the lead the PDF contract is send to.
When the mergefield is in the contract canvas, move it with your cursor, or use the shift key and keyboard arrows to move the mergefield one pixel at a time.

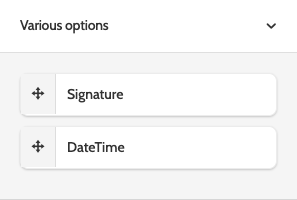
Various options
Under various options, include a field for the lead to digitally add a signature, and another for the date and time of signing.
Editing a mergefield
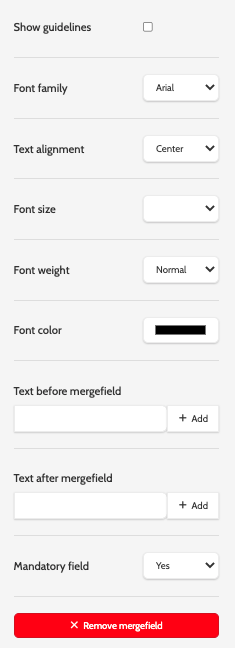
To edit a mergefield, either one or several at a time, select the mergefield(s) by clicking them, and entering the following information:
- Show guidelines: check this box to view guidelines in your PDF contract so you can place the mergefields accurately in relation to the text and other mergefields. The guidelines will not be visible to the lead
- Font family: select a font for the mergefields.
- Text alignment: choose an alignment for the text
- Font size: the font size for the text
- Font weight: choose between normal and bold for the text
- Font colour: select a text colour . HEX, RGB, and HSL are accepted
- Text before mergefield: include any text to be displayed before the mergefield. For example, if you are including a Forename mergefield, enter a greeting such as 'Hi' or 'Dear' in this field. Click + Add to add the text
- Text after mergefield: include any text to be displayed after the mergefield
- Mandatory mergefield: choose between Yes and No to make the mergefield mandatory
- Remove mergefield: click the remove the mergefield from the PDF Contract.
Settings
In Settings, configure certain options for your PDF contract. Choose between General Settings, Button Settings, and Sign Page Texts.
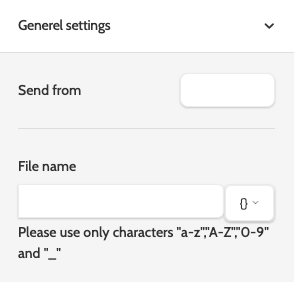
General settings
Under General settings, enter the following information:
- Send from: the name that will be displayed in the 'from' field. This is usually the organisation or business name
- File Name: enter a name for the PDF contract that the lead will click to open. To add a mergefield into the file name, expand the menu and select a mergefield. It will be replaced with lead data once the PDF contract is sent.
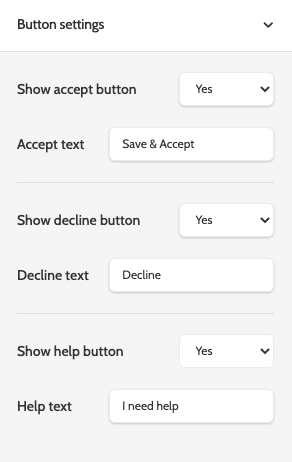
Button settings
Under Button settings, enter the following information:
- Show accept button: choose whether to include an optional Accept button
- Accept text: the button text.
- Show decline button: choose whether to include an optional Decline button
- Decline text: the button text.
- Show help button: choose whether to include an optional Show Help button
- Decline text: the button text.
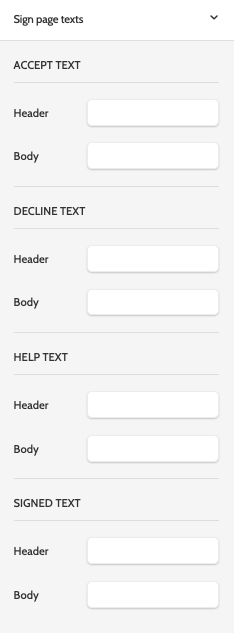
Sign page texts
Under Sign page texts, configure the messages that the lead will see once they have decided how to proceed with the PDF Contract.
Depending on whether the lead has chosen to Accept, Decline, click the Help button, or has signed the contract, enter the header text and body text in the relevant fields.
 Click Options to choose between Upload PDF and PDF settings.
Upload PDF will allow you to re-upload a new PDF contract to the canvas, and will open your desktop file explorer to choose a PDF.
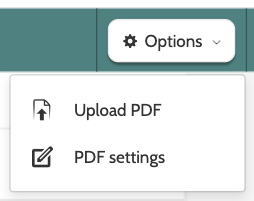
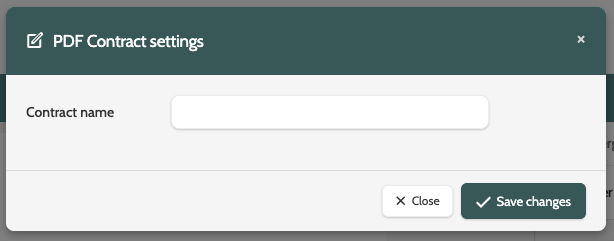
Select PDF settings to enter a name for your PDF contract. This is the name that will be displayed in the navigation page.
When you are done, click Save changes.
Click Save contract to save your progress.